In a world increasingly focused on sustainability and mindful living, our kitchens offer a prime opportunity to make a significant impact. Imagine transforming forgotten ingredients into gourmet delights or bringing yesterday’s takeout back to life with an irresistible crispness. This comprehensive guide is designed to empower you with clever strategies, simple recipes, and smart techniques to minimize food waste, save money, and elevate your culinary experience. From utilizing every part of your vegetables to mastering the art of reheating, prepare to discover resourceful ways to make the most of every bite.
Whether you’re an experienced chef or a home cook looking to improve your kitchen efficiency, these tips and recipes will help you embrace a more sustainable approach to food. We’ll delve into innovative uses for often-discarded items, explore traditional preservation methods, and reveal the secrets to making leftovers taste even better than the first time. Get ready to unlock the full potential of your ingredients and transform your daily meals into something truly extraordinary.
From Wilting to Vibrant: The Magic of Leftover Greens Pesto
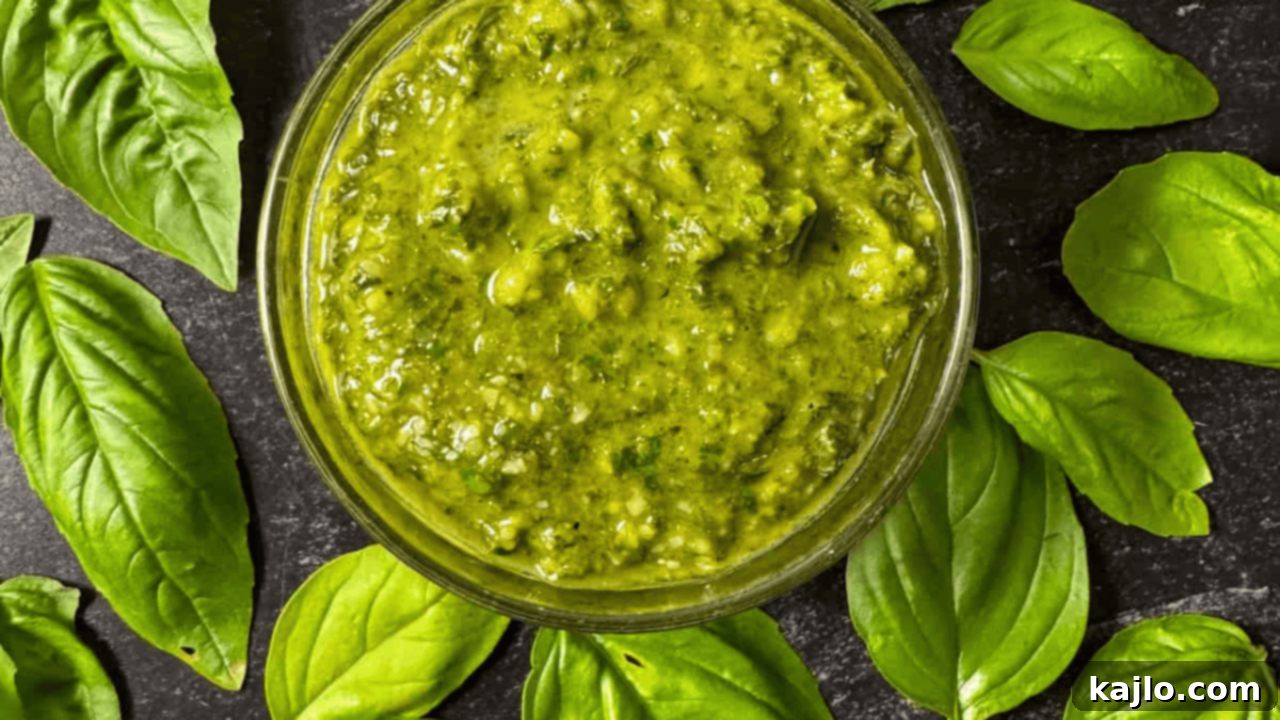
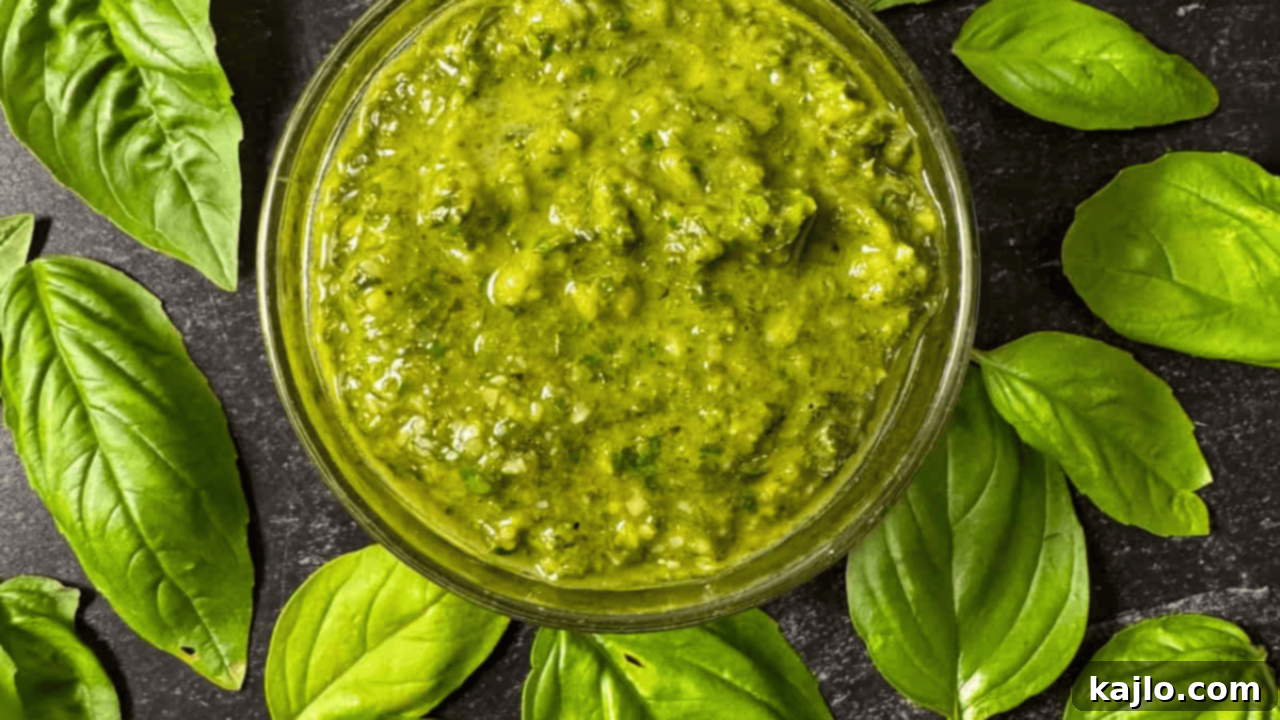
Don’t let those slightly wilting greens meet an untimely end in the compost bin! Transforming them into a luscious pesto is not only an excellent way to reduce food waste but also a fantastic opportunity to create a versatile and flavorful sauce. This vibrant green condiment breathes new life into a variety of dishes, adding a burst of freshness and a touch of gourmet flair. Pesto is incredibly adaptable, allowing you to use almost any combination of leafy greens you have on hand.
Imagine spinach, kale, radish tops, beet greens, or even a mix of fresh herbs like basil and parsley, all blended into a harmonious symphony of flavor. The basic formula is simple: your chosen greens, high-quality olive oil, fresh garlic, a handful of nuts (pine nuts, walnuts, or almonds work beautifully), and a generous grating of Parmesan or Pecorino cheese. For a dairy-free option, nutritional yeast can offer a cheesy tang. This concoction creates a punchy, aromatic sauce that’s perfect for tossing with pasta, spreading on sandwiches and wraps, dolloping onto roasted vegetables, or serving as an irresistible dip for crusty bread. It’s a quick, flexible, and incredibly satisfying way to ensure no green goes to waste, proving that creativity in the kitchen can be both delicious and sustainable.
Unlock the full potential of your greens: Discover the Leftover Greens Pesto Recipe Here
A Zesty Revelation: Crafting Flavorful Fermented Lemons
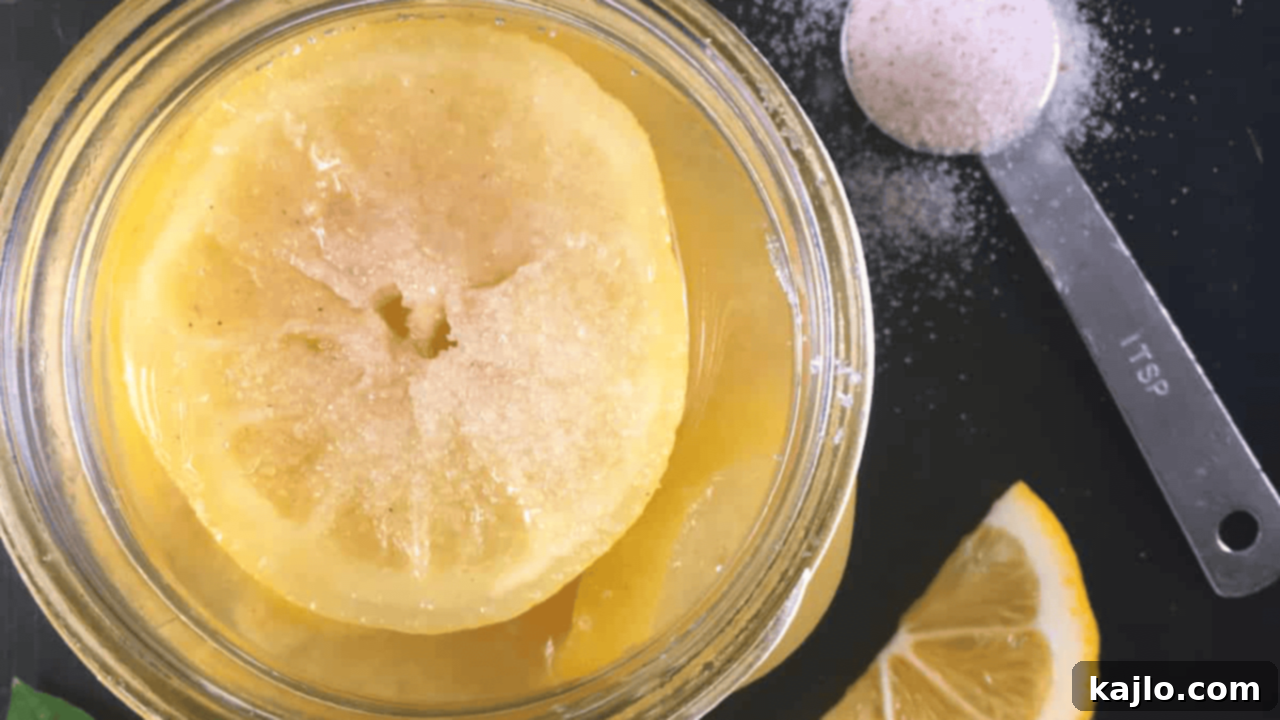
Preserved lemons, a staple in North African and Middle Eastern cuisine, are a secret weapon for adding an incredibly complex, salty, and citrusy depth to your cooking. Far from merely being tart, the fermentation process mellows the harsh acidity of fresh lemons, transforming them into a concentrated burst of umami-rich flavor that cannot be replicated. This age-old technique is surprisingly simple to execute at home and yields a pantry staple that will elevate countless dishes.
To make them, simply slice or quarter fresh, organic lemons, ensuring you remove any seeds. Pack them tightly into a clean, sterilized jar, layering generously with coarse sea salt. The salt draws out the lemon juice, creating a brine that encourages fermentation. Once the jar is full, ensuring the lemons are fully submerged in their own liquid (top with a little extra lemon juice if needed), seal it tightly and let it sit at room temperature for a few weeks. A gentle shake every few days helps distribute the brine. Over time, the rinds soften and develop an intensely aromatic, savory, and subtly sweet flavor. The longer they ferment, the more profound and nuanced their taste becomes. These preserved gems are fantastic finely chopped and added to stews, tagines, dressings, marinades for fish or chicken, or even blended into a vibrant salsa. They are a game-changer for anyone looking to add an extraordinary flavor dimension to their culinary repertoire.
Learn the traditional method: Get the Fermented Lemons Recipe Here
Revitalize Your Slice: The Ultimate Guide to Reheating Domino’s Pizza

There’s nothing quite like a fresh Domino’s pizza, but what about those tempting leftovers? The bane of many pizza lovers is the dreaded soggy crust or rubbery cheese that often results from improper reheating. However, with a few clever techniques, you can bring that deliciousness back to its crispy, gooey glory, making day-old pizza a highly anticipated treat. The key is to restore the crust’s crispness while ensuring the toppings are perfectly heated through, avoiding the common pitfalls of drying out or becoming chewy.
For optimal results, an air fryer or a skillet is your best friend. The air fryer circulates hot air, effectively crisping up the crust and melting the cheese without overcooking. Simply place slices in a single layer and heat for a few minutes until golden and bubbly. Alternatively, a preheated skillet on the stovetop can mimic a brick oven, giving the bottom crust a beautiful char before you cover it briefly to melt the cheese. A toaster oven also works wonders for smaller batches. While the microwave is certainly the fastest option, it often compromises texture. If you must use it, a glass of water alongside your pizza can help retain moisture. We have specific tips to perfectly reheat your Domino’s pizza, ensuring it’s as mouth-watering as when it first arrived. Say goodbye to sad, cold slices and hello to perfectly revitalized pizza every time!
Never settle for soggy again: Master the Art of Reheating Domino’s Pizza
Beyond the Root: Creative Uses for Carrot Leaves
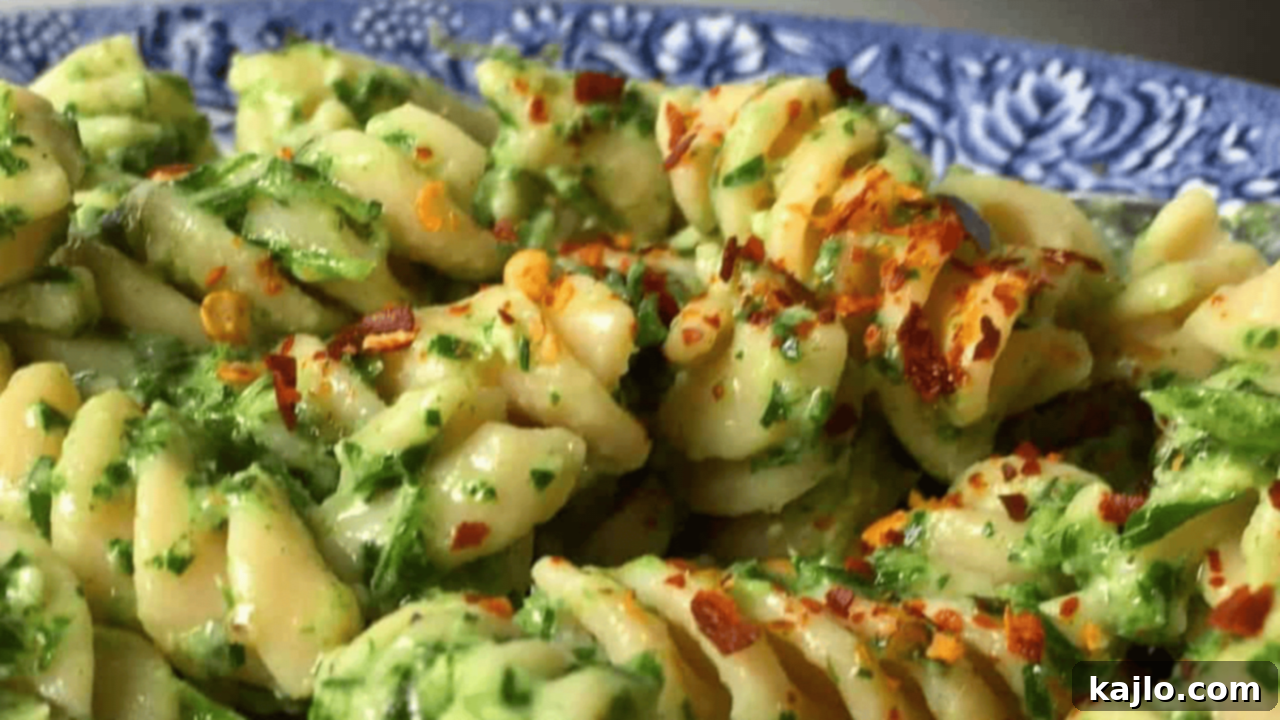
How many times have you chopped off those beautiful, feathery carrot tops and tossed them straight into the bin? It’s a common practice, but it’s time to rethink this habit! Carrot leaves, often mistaken for mere waste, are not only edible but also remarkably flavorful, offering a unique earthy, slightly bitter, and parsley-like taste that can elevate a variety of dishes. Utilizing them is a fantastic way to practice nose-to-tail eating (or root-to-leaf, in this case) and add a nutritional boost to your meals.
These vibrant greens are incredibly versatile. They can be transformed into a bright and zesty chimichurri, perfect for drizzling over grilled meats or vegetables, or blended into a distinctive pesto, much like the leftover greens pesto mentioned earlier. Beyond these popular applications, carrot tops are also excellent when simply sautéed with garlic and a touch of olive oil, making a quick and nutritious side dish. Their robust flavor also makes them a wonderful addition to homemade vegetable stocks, adding depth and herbaceous notes. You can even finely chop them and sprinkle them over salads or soups as a fresh, flavorful garnish. Just remember to wash them thoroughly before use, as they can sometimes trap a bit of soil. Embrace the full potential of the carrot and discover a delicious new ingredient hiding in plain sight!
Unlock the flavor of forgotten greens: Explore Our Carrot Leaves Recipes
Discovering Delicacy: Why You Should Try Chicken Hearts
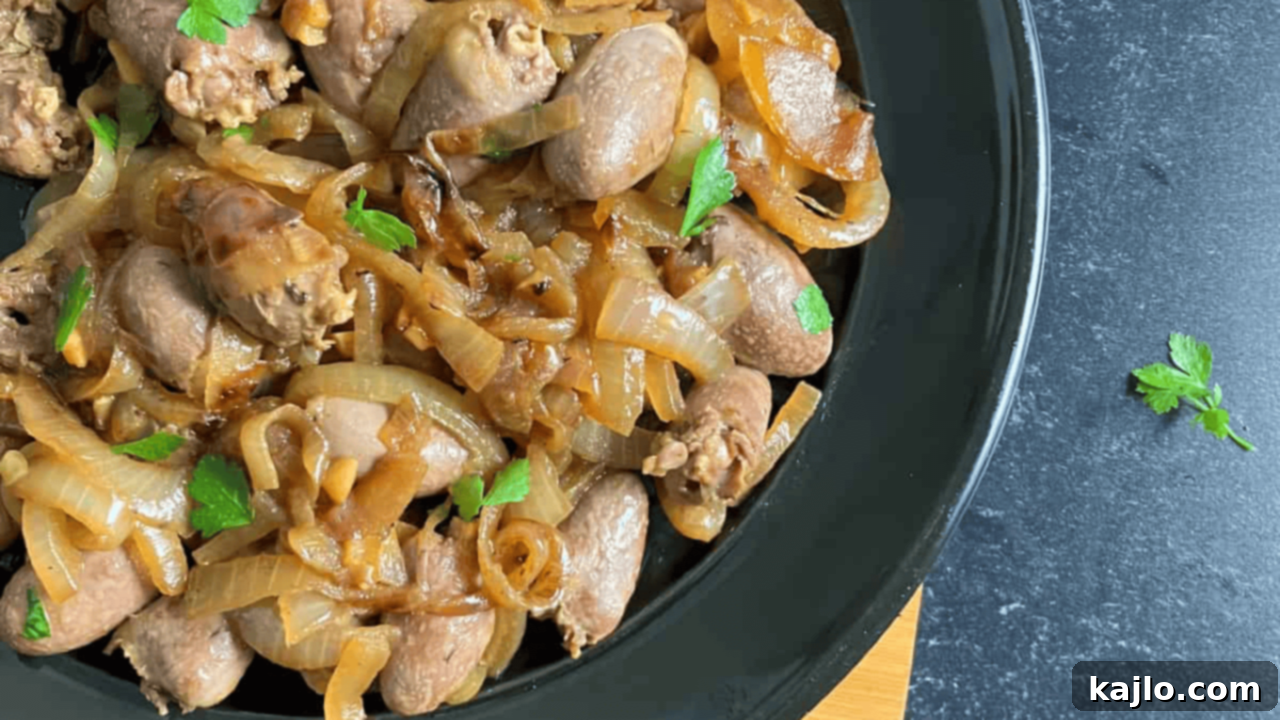
Often overlooked and sometimes intimidating, chicken hearts are a truly delicious and surprisingly tender cut of meat that deserves a place in your culinary rotation. As part of the “offal” category, they are incredibly nutrient-dense, packed with protein, iron, zinc, and B vitamins, making them a superfood that’s also budget-friendly. Their flavor is mild, subtly meaty, and less gamey than other organ meats, making them an excellent entry point for those new to offal.
One of the best things about chicken hearts is how quickly they cook, making them perfect for a fast snack, a flavorful appetizer, or a lean protein addition to your main meal. Simply grill or pan-sear them with a robust seasoning of garlic, chili flakes for a gentle kick, and a splash of vinegar or lemon juice to brighten the flavors. They become wonderfully tender with a slight chew, absorbing marinades beautifully. Serve them on skewers, tossed with a vibrant salad, or alongside steamed rice and your favorite vegetables for a complete and wholesome meal. Don’t let their small size fool you; these little powerhouses are packed with taste and nutrition. By embracing cuts like chicken hearts, you not only expand your culinary horizons but also contribute to a more sustainable approach to consuming animal products, ensuring no part goes to waste.
Embrace this underrated delicacy: Get the Chicken Hearts Recipe
The Liquid Gold: Crafting Nutrient-Rich Bone Broth at Home
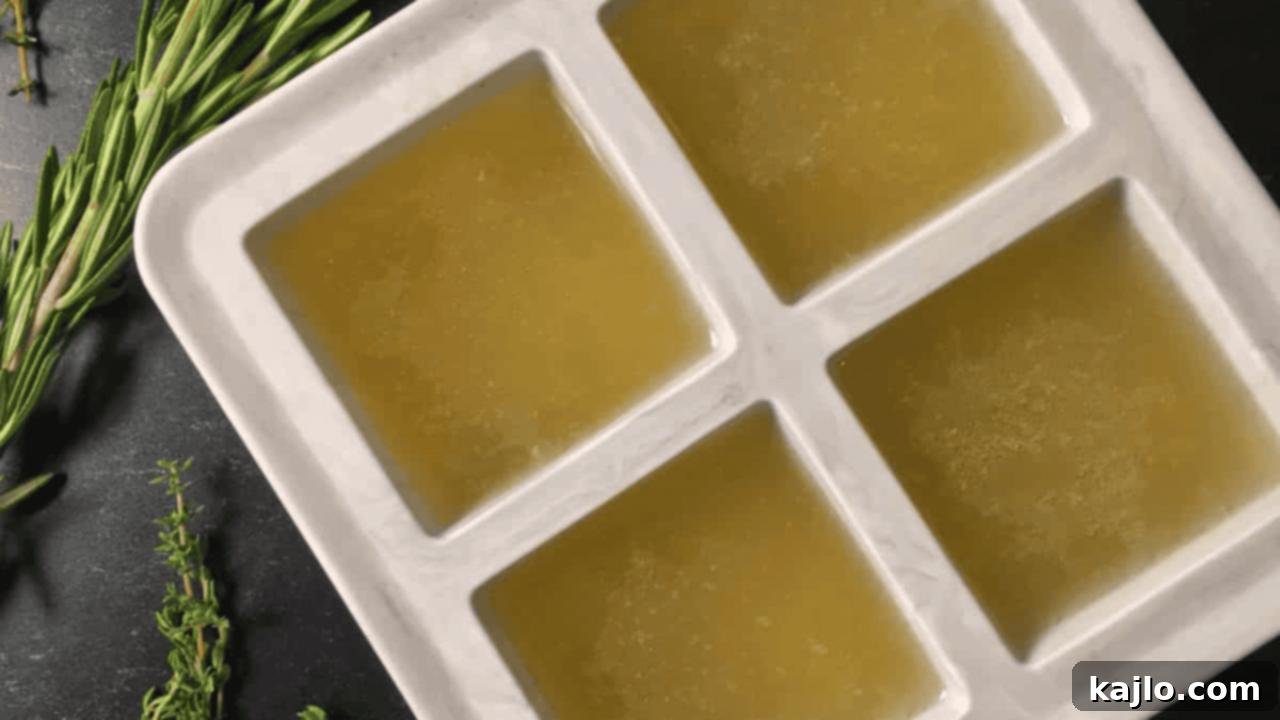
Bone broth has been cherished for centuries across various cultures, recognized not just as a culinary foundation but also as a powerful elixir for health and wellness. This “liquid gold” is incredibly nutrient-rich, brimming with collagen, amino acids, and essential minerals that support everything from gut health and joint function to glowing skin and immune system strength. Making it at home is a simple yet profoundly rewarding process, allowing you to utilize leftover bones and vegetable scraps, further reducing kitchen waste.
The beauty of bone broth lies in its slow simmering process. You start by combining bones—chicken, beef, pork, or a mix—with water, a splash of apple cider vinegar (which helps extract minerals from the bones), and mild aromatic vegetables like carrots, celery, and onions. This mixture then gently simmers for several hours, sometimes even overnight, allowing all the beneficial compounds to leach into the liquid. Once strained and cooled, you’re left with a gelatinous, savory broth that can be enjoyed plain as a comforting drink, used as a robust base for soups and stews, or incorporated into purees for added nutrition, especially beneficial for babies and growing children. It’s a versatile, economical, and incredibly healthful addition to any kitchen, providing a foundational element for countless nourishing meals. Freeze it in portions for easy access, and you’ll always have a supply of this culinary and health powerhouse on hand.
Nourish your body from within: Get the Bone Broth for Babies (and the whole family!) Recipe
Fast Food Revival: How to Reheat McDonald’s Burgers in an Air Fryer
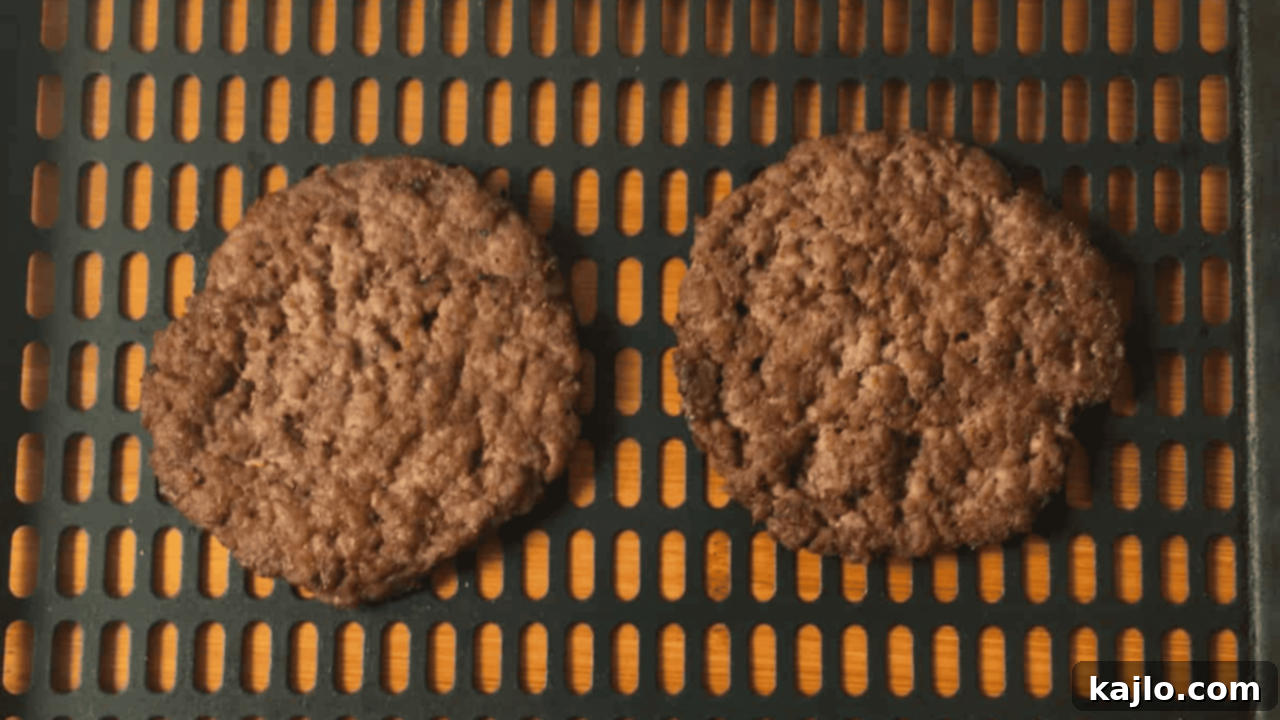
A McDonald’s burger is a classic, but a cold, soggy leftover burger can be a disappointing experience. The challenge lies in reheating it without turning the bun to rubber or drying out the patty. This is where the air fryer truly shines, offering a solution that restores your burger to its former glory, making it almost as good as fresh. The circulating hot air works wonders to revive both the bun and the meat, ensuring a satisfying bite every time.
The secret to perfectly reheating a McDonald’s burger in an air fryer involves a simple yet crucial step: disassembling it. Separate the bun from the patty, and remove any cold toppings like lettuce, tomato, or pickles, as these will wilt or become unpleasant when heated. Place the patty and the bun halves (cut side up) in the air fryer basket in a single layer. The air fryer will gently toast the bun, giving it that soft yet slightly crispy texture, while simultaneously heating the patty through, allowing it to regain its savory juiciness without overcooking. Once heated to your preference, reassemble your burger, adding back the fresh toppings, and a squeeze of your favorite sauce. The result is a delightfully toasty bun and a perfectly warm, flavorful patty, ensuring your leftover McDonald’s burger experience is nothing short of delicious.
Bring your burger back to life: Get the Reheat McDonald’s Burger in Air Fryer Guide
Crispy Comeback: Reheating McDonald’s Chicken Nuggets in an Air Fryer

Cold, rubbery chicken nuggets are a sad sight, a far cry from the golden, crispy morsels we crave from McDonald’s. Luckily, your air fryer is here to rescue those leftover nuggets, transforming them from drab to fab in just a few minutes. Gone are the days of soggy, microwave-reheated nuggets; with the air fryer, you can achieve a texture that rivals, or even surpasses, their fresh-out-of-the-fryer counterparts.
The air fryer’s powerful convection heating mechanism is perfect for restoring the crispiness of breaded items like chicken nuggets. Simply arrange your leftover McDonald’s chicken nuggets in a single layer in the air fryer basket, ensuring they are not overcrowded. This allows the hot air to circulate evenly around each nugget, heating them thoroughly while crisping up their exterior. In just a few minutes, you’ll witness a magical transformation: they’ll emerge piping hot, beautifully golden, and wonderfully crunchy, almost like they were just served. No more disappointment with soft, unappealing nuggets. Enjoy them with your favorite dipping sauces, and savor the satisfying crunch that makes McDonald’s chicken nuggets so iconic. It’s a quick, effortless way to ensure every nugget is a delight, proving that leftovers can be just as enjoyable as the original meal.
Restore the crunch: Get the Reheat McDonald’s Chicken Nuggets in Air Fryer Guide
Golden Perfection: Reheating McDonald’s Fries in an Air Fryer

Perhaps the most challenging fast food leftover to revive is the humble French fry. Cold, limp, and often greasy, day-old fries typically lose all their appeal. However, prepare to have your mind (and your taste buds) blown, because the air fryer is an absolute game-changer for reheating McDonald’s fries. It can transform those sad, flaccid potato sticks back into golden, crispy perfection – in fact, many argue they taste even better after an air fryer treatment!
The secret lies in the air fryer’s ability to quickly and evenly cook with circulating hot air, evaporating excess moisture and restoring that delightful crunch. To achieve optimal results, spread your leftover McDonald’s fries in a single layer in the air fryer basket; avoid overcrowding, as this can steam the fries instead of crisping them. A quick spray of oil can sometimes help achieve extra crispiness, though it’s often not necessary. Set your air fryer to a moderate-high temperature and cook for just a few minutes, shaking the basket halfway through to ensure even heating and browning. Watch them closely, as they can go from perfectly crispy to burnt surprisingly quickly. The outcome? Fries that are wonderfully hot, exquisitely crispy on the outside, and fluffy on the inside, with that signature McDonald’s flavor fully intact. Say goodbye to disappointing leftovers and hello to a whole new appreciation for reheated fries!
Never waste a fry again: Get the Reheat McDonald’s Fries in Air Fryer Guide
Embracing a more sustainable and resourceful approach to cooking not only benefits the planet but also enriches your culinary life. By implementing these smart kitchen hacks, from transforming humble carrot tops into flavorful pestos to mastering the art of reheating your favorite fast food, you unlock a world of possibilities. You’ll reduce food waste, save money, and discover new, exciting flavors and textures along the way. We encourage you to experiment with these tips, adapt them to your own preferences, and most importantly, enjoy the delicious journey of mindful cooking. Your kitchen is a canvas for creativity – let’s paint it green, one resourceful meal at a time!
