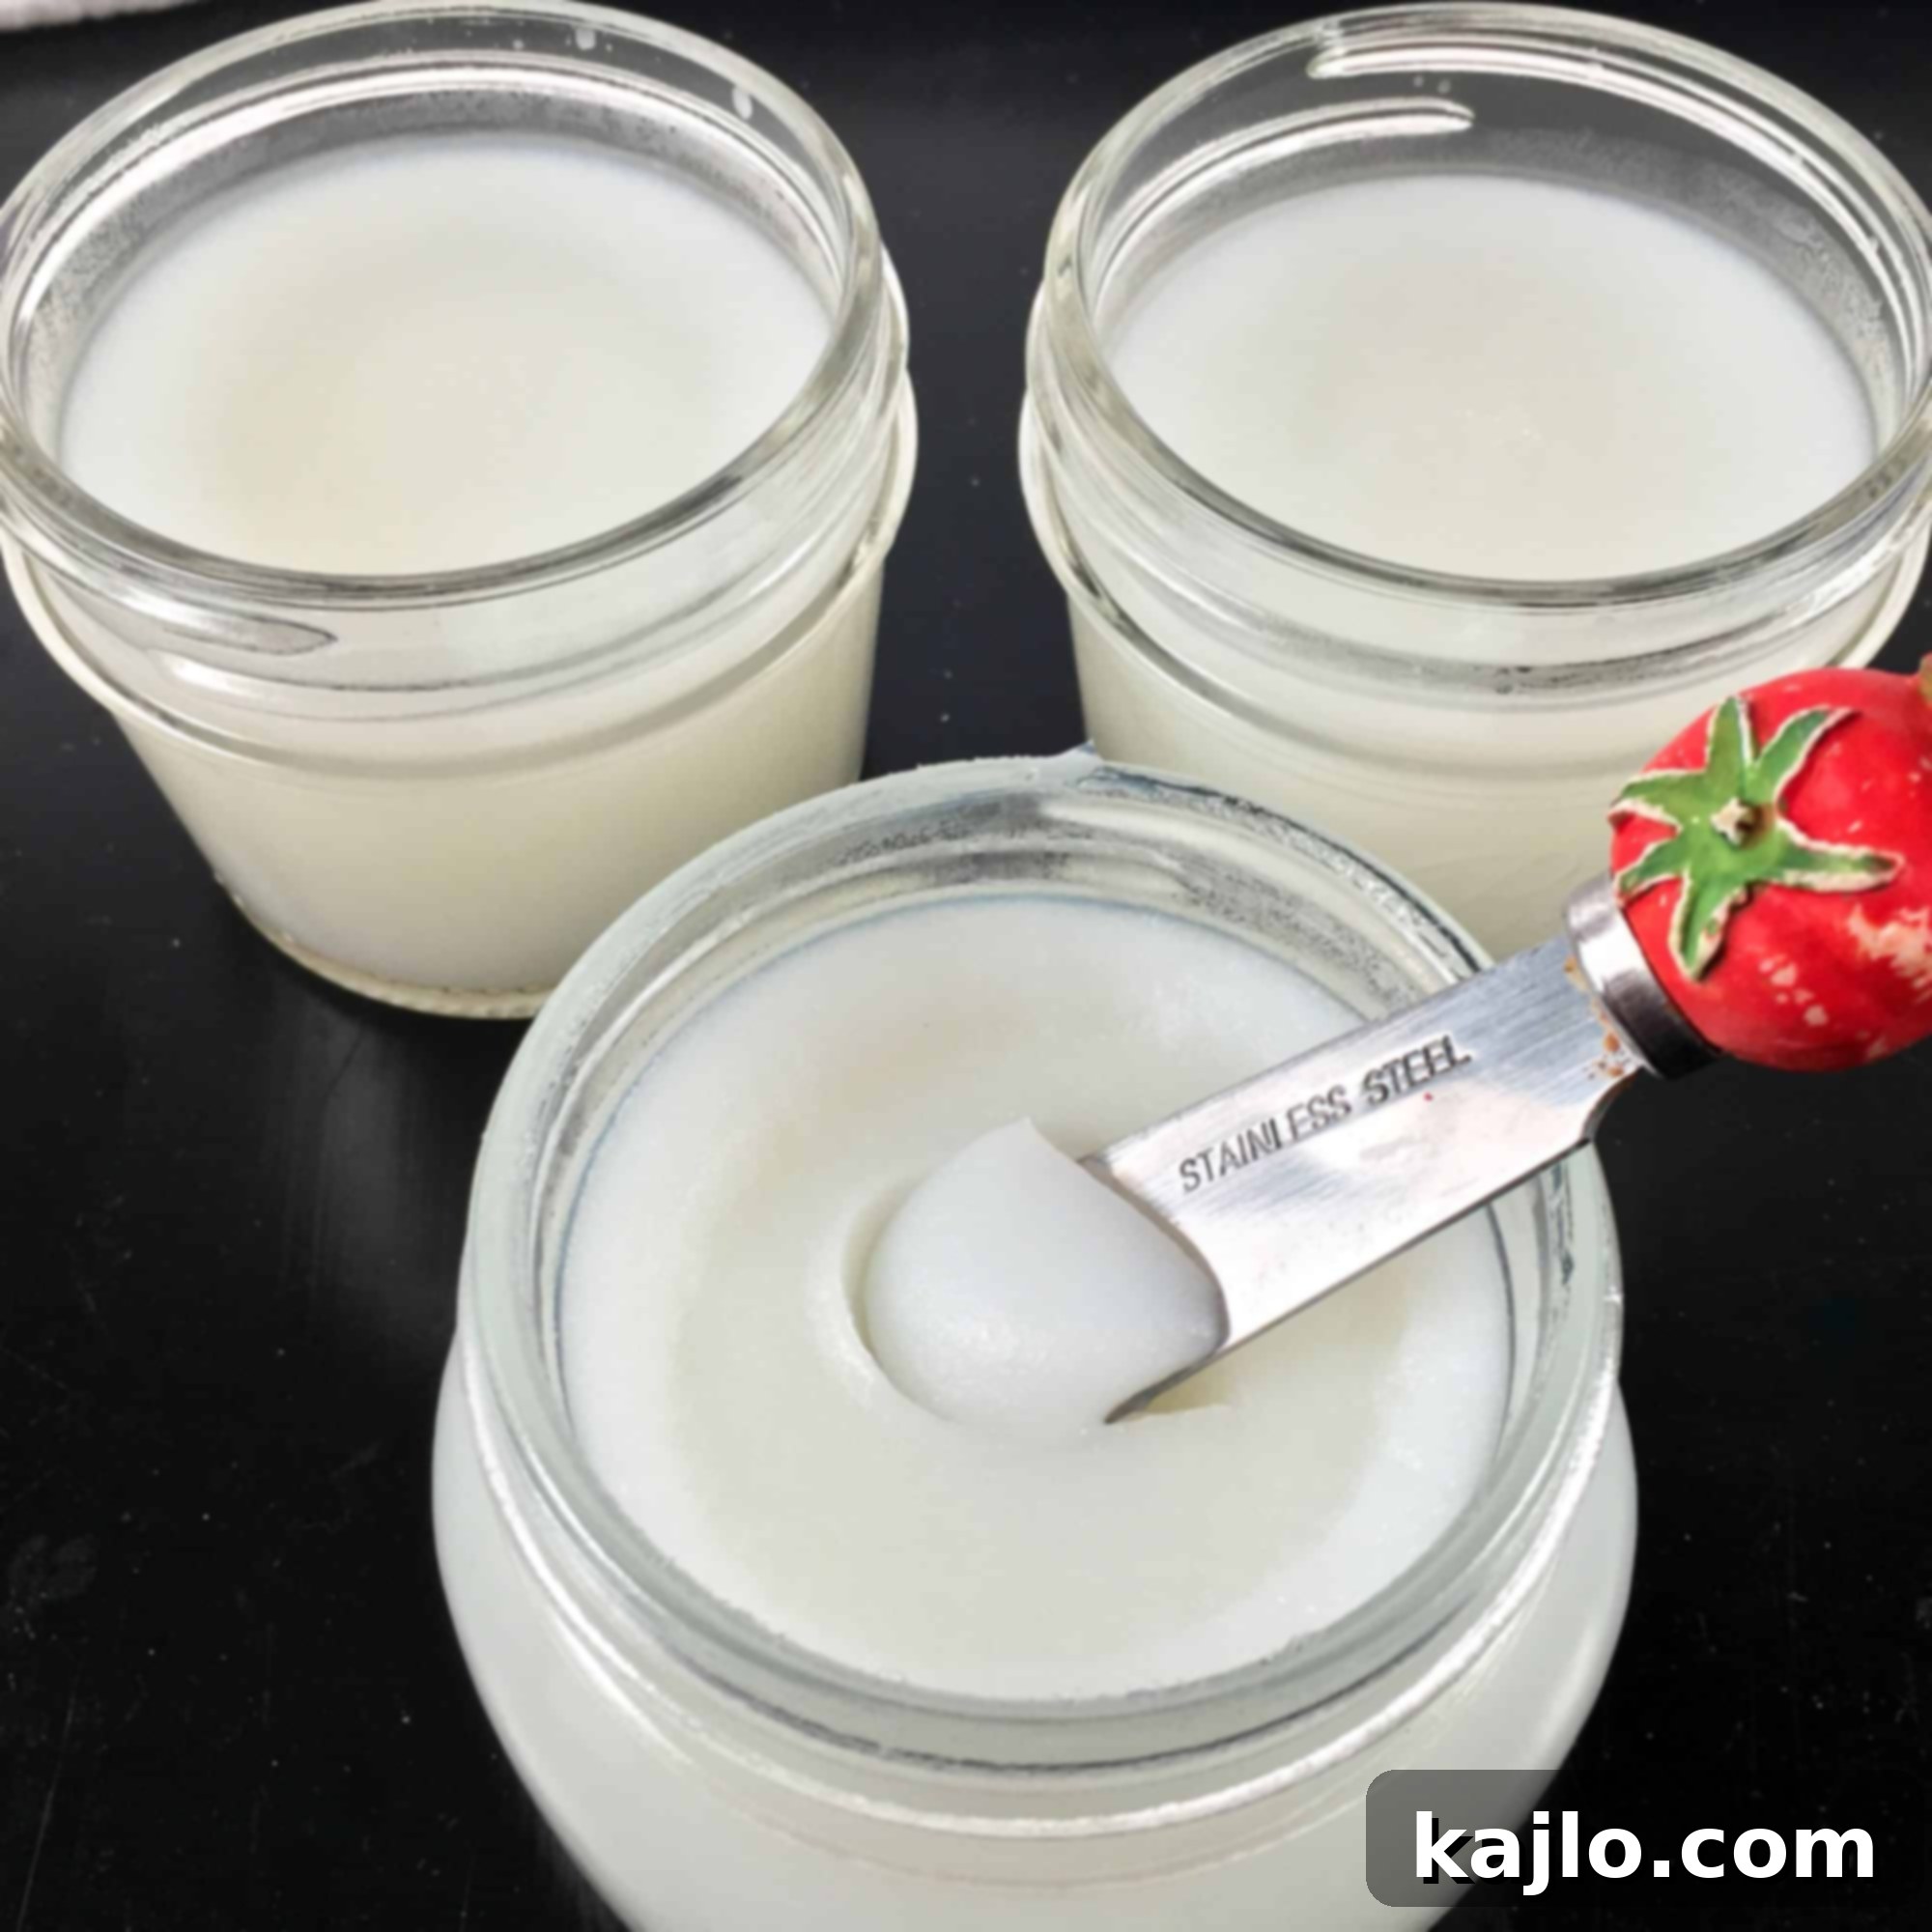
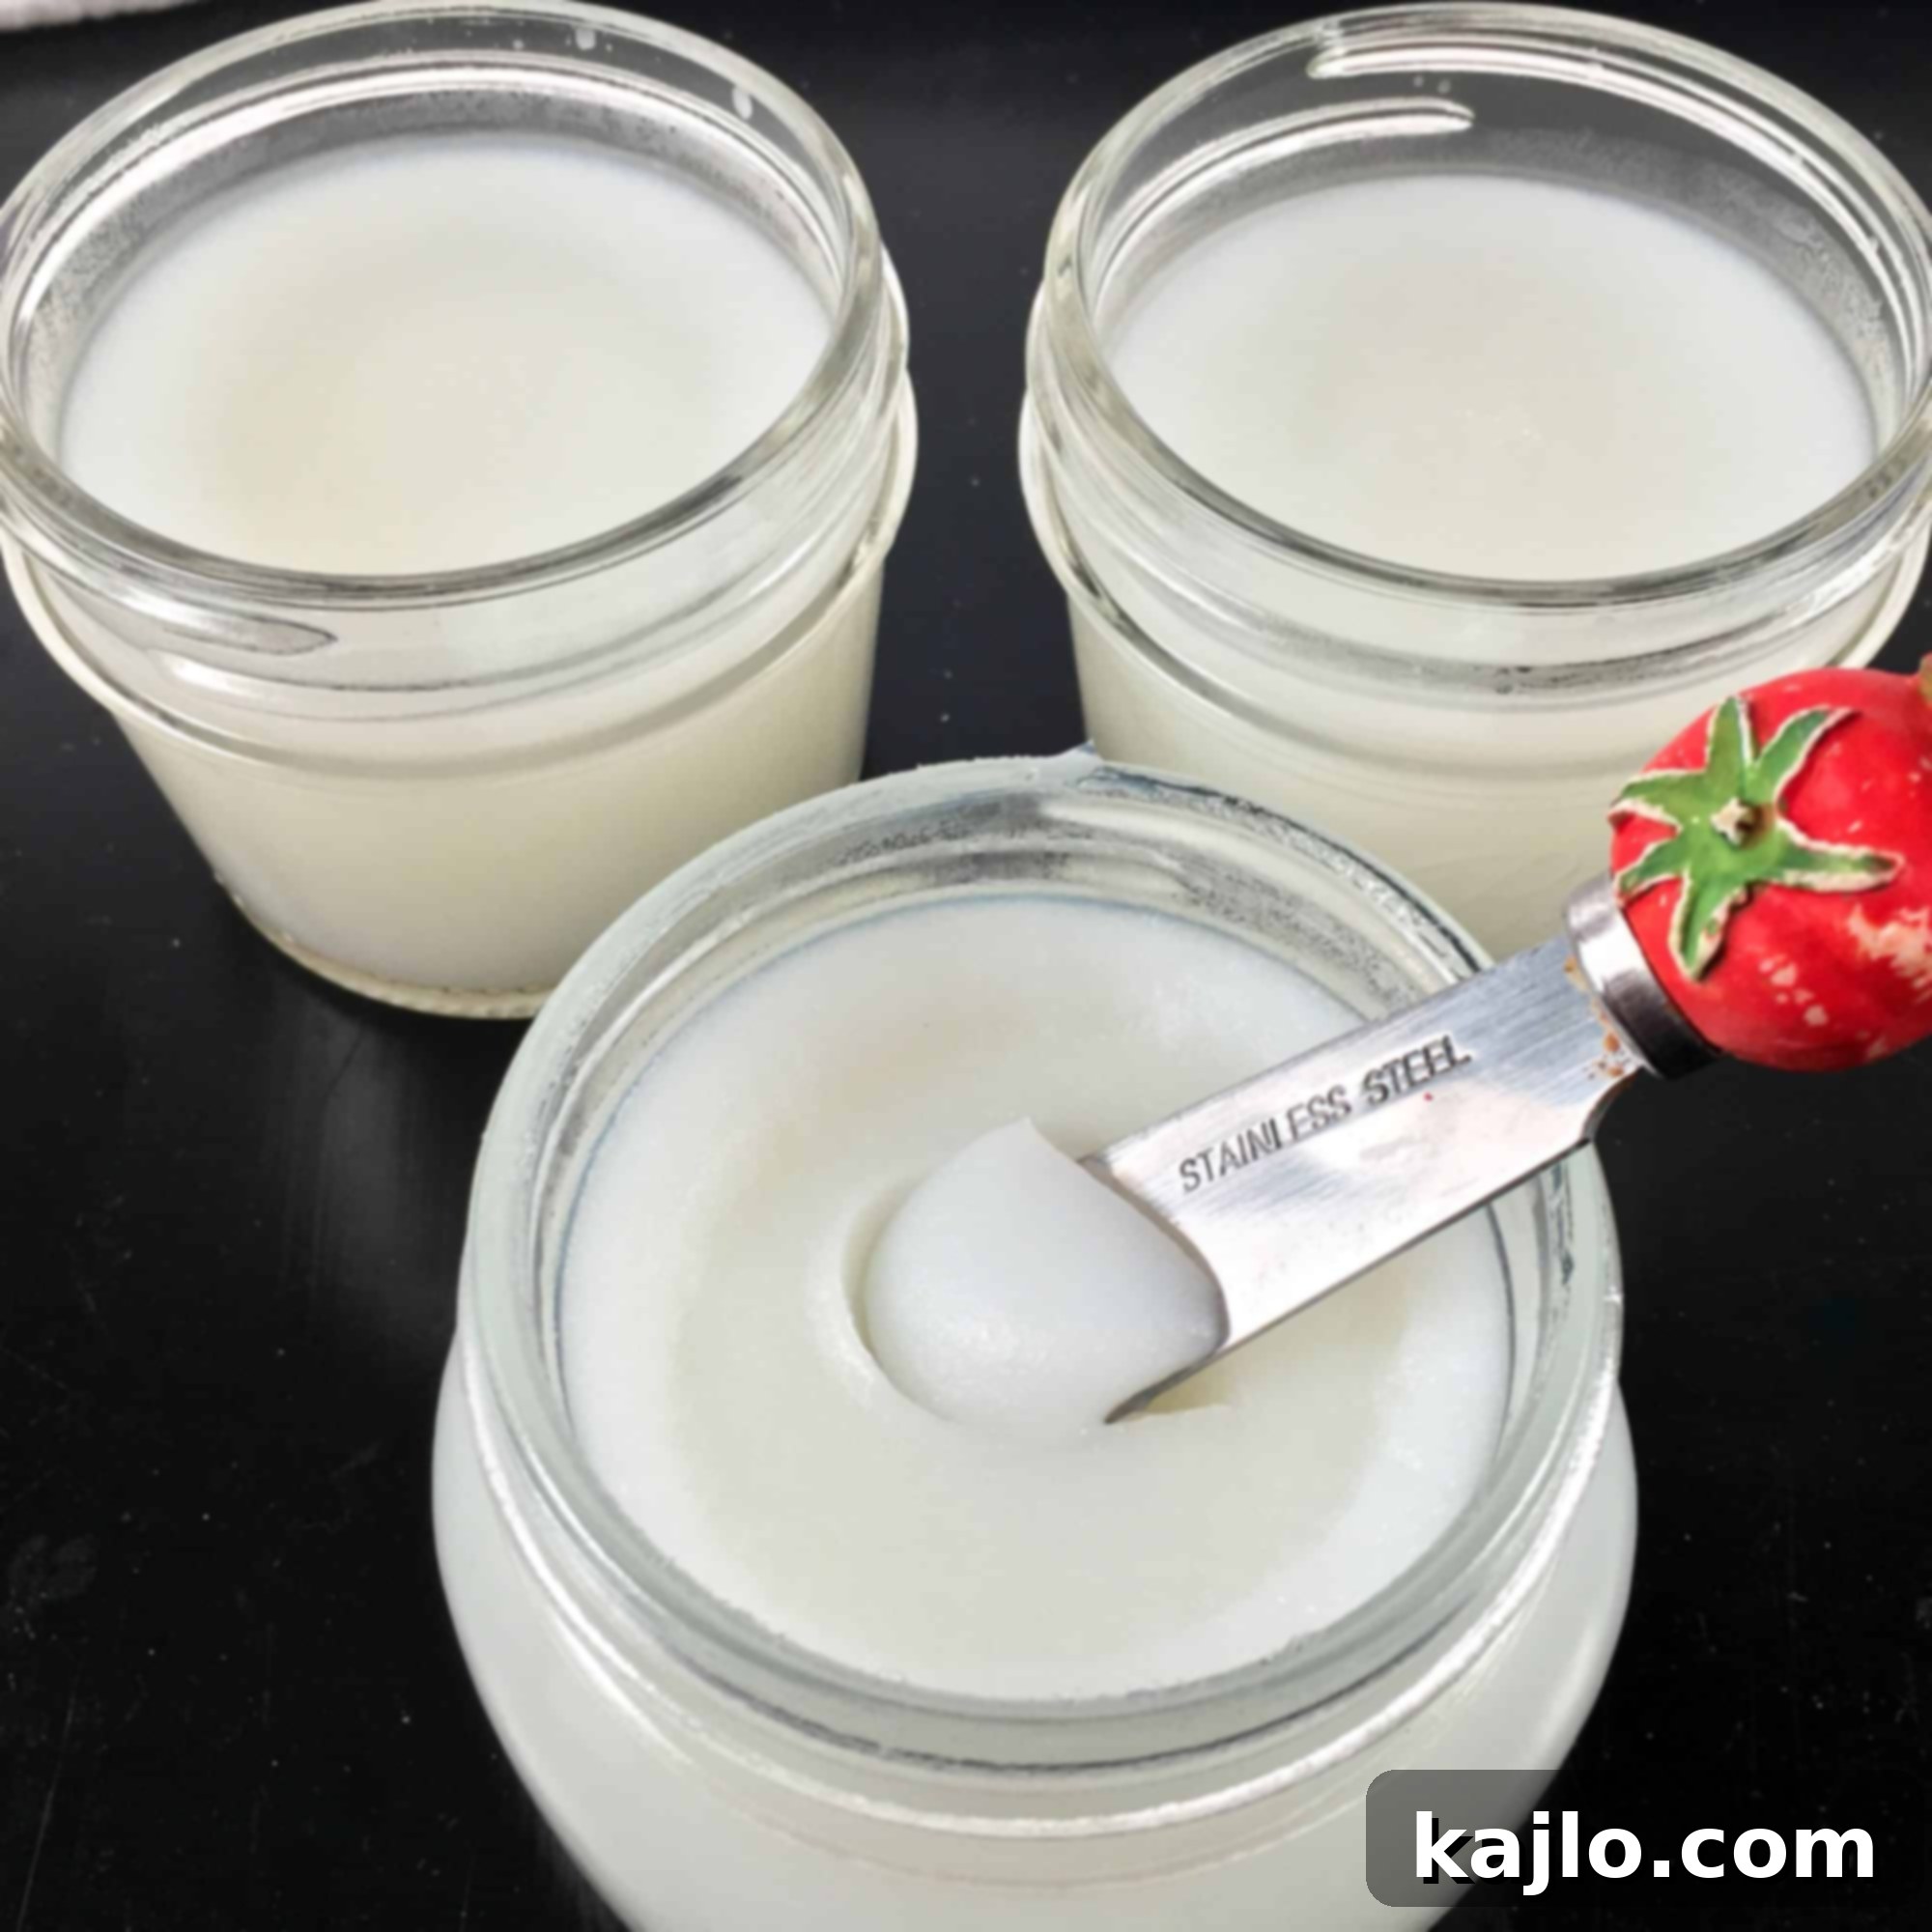
Discover the art of making creamy, snowy white lard right in your kitchen using a simple crock pot! Also known as rendered pork fat, homemade lard is a traditional, versatile cooking fat that elevates your baking and cooking to new heights. Imagine crafting flakier pie crusts, tender biscuits, and perfectly crisp crackers – a culinary experience unmatched by butter or coconut oil alone. If you’ve been relying solely on these fats, you’re missing out on a secret ingredient cherished for centuries. While quality lard can be hard to find in stores, this comprehensive guide will show you exactly how to render pork fat in a slow cooker, ensuring a pure, nearly flavorless product that will transform your favorite recipes.
The Journey to Perfect Homemade Lard
My personal quest for the ultimate lard began several months ago when I acquired some delicious pastured pork from a local farmer. Along with the cuts of meat, they thoughtfully included several slabs of fatback, encouraging me to try my hand at rendering lard. While the idea was exciting, I quickly learned that making high-quality lard requires more than just melting fat.

My initial attempts were, to put it mildly, a learning experience. For my very first batch of lard from fatback, I diced the fat into cubes and used my oven. Unfortunately, I ended up overcooking the fat because I struggled to determine when it was perfectly rendered. The result was a golden-hued lard with an unpleasant, slightly burnt flavor – a far cry from the snowy white, neutral-tasting fat I envisioned. It was quite disappointing, and the yield from that piece of fatback seemed remarkably low.
Essential Tips for Lard-Making Success
Through trial and error, and a fair bit of research, I refined my technique. Here are the two most crucial insights I gained that paved the way for consistently excellent homemade lard:
- **Grind the fat into smaller pieces:** This significantly increases the surface area, allowing the fat to render more efficiently and ensuring a higher yield of pure lard.
- **Render at a lower temperature and remove liquid lard promptly:** Gentle heat prevents overcooking and preserves the lard’s neutral flavor and pristine white color. Siphoning off the rendered liquid fat as it accumulates is key to achieving the highest quality.
Considering these lessons, my crock pot emerged as the ideal tool for low-temperature rendering. To maximize the yield, I decided to grind the fatback this time, rather than just cubing it. This approach, while perhaps less common in some tutorials, has proven to be incredibly effective and yields fantastic results.
Mastering the Art: How to Render Lard in a Crock Pot
Rendering lard in a crock pot is a process that rewards patience, fitting perfectly into the slow food philosophy. If you’ve enjoyed the satisfaction of making homemade butter and are seeking a more engaging culinary project, this might be your next favorite kitchen endeavor. Here’s a breakdown of what you’ll need to get started on your journey to creating premium homemade lard:
Equipment You’ll Need:
- Several pounds of high-quality pork fatback
- A reliable **meat grinder** (I personally use a Cabela’s Pro DC Grinder, which I found to be an excellent investment).
- A versatile **slow cooker** or **crock pot**
- A handy **turkey baster** for easy fat removal
- **Small freezer-safe canning jars** or other airtight containers for storing your finished lard
(A printable recipe card with detailed instructions is available further down in this guide!)

Preparing the Fatback for Rendering
This was my first experience using a meat grinder, and I was initially surprised by the number of components when I unboxed it. Thankfully, the grinder came with clear instructions, allowing for quick assembly. Not all pieces were necessary for this specific project, as some are designed for tasks like making homemade sausage links.

For optimal results, pork fat cuts and grinds most easily when it’s almost frozen, ideally between 38-40°F (3.3-4.4°C). I made sure to keep any fatback I wasn’t actively working with stored in the freezer to maintain this ideal temperature. In a short time, I had several bowls filled with approximately 1-inch (2.54 cm) cubes, perfectly prepped for grinding.

During the grinding process, I initially made the mistake of overloading the tray with too many cubes at once. This jammed the machine, requiring me to unplug it, disassemble, and clean it – a minor setback, but a valuable lesson learned!
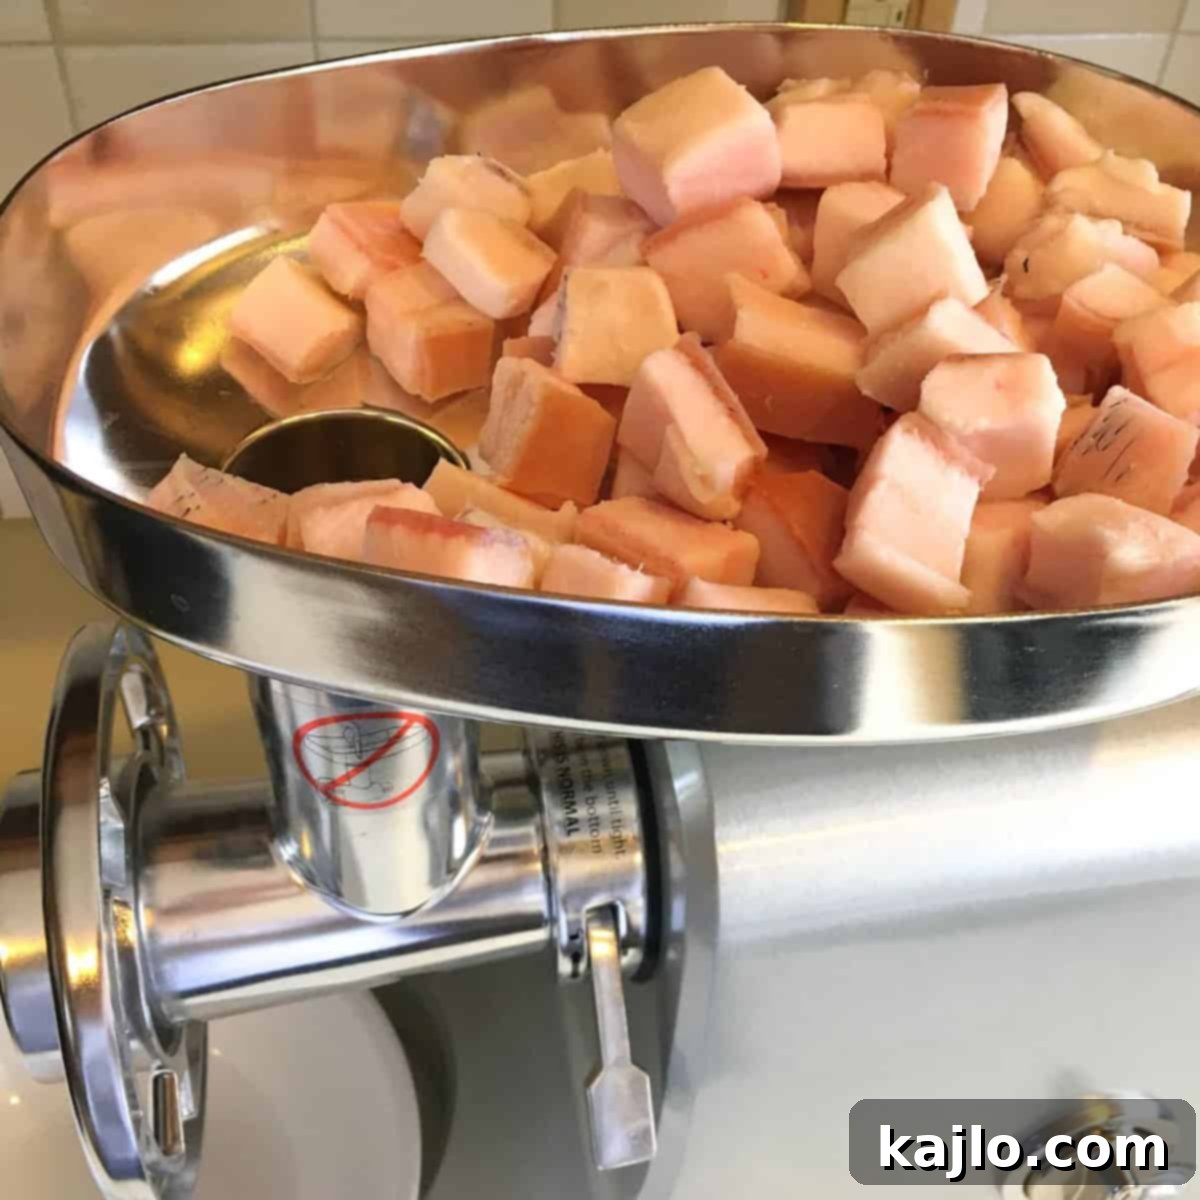
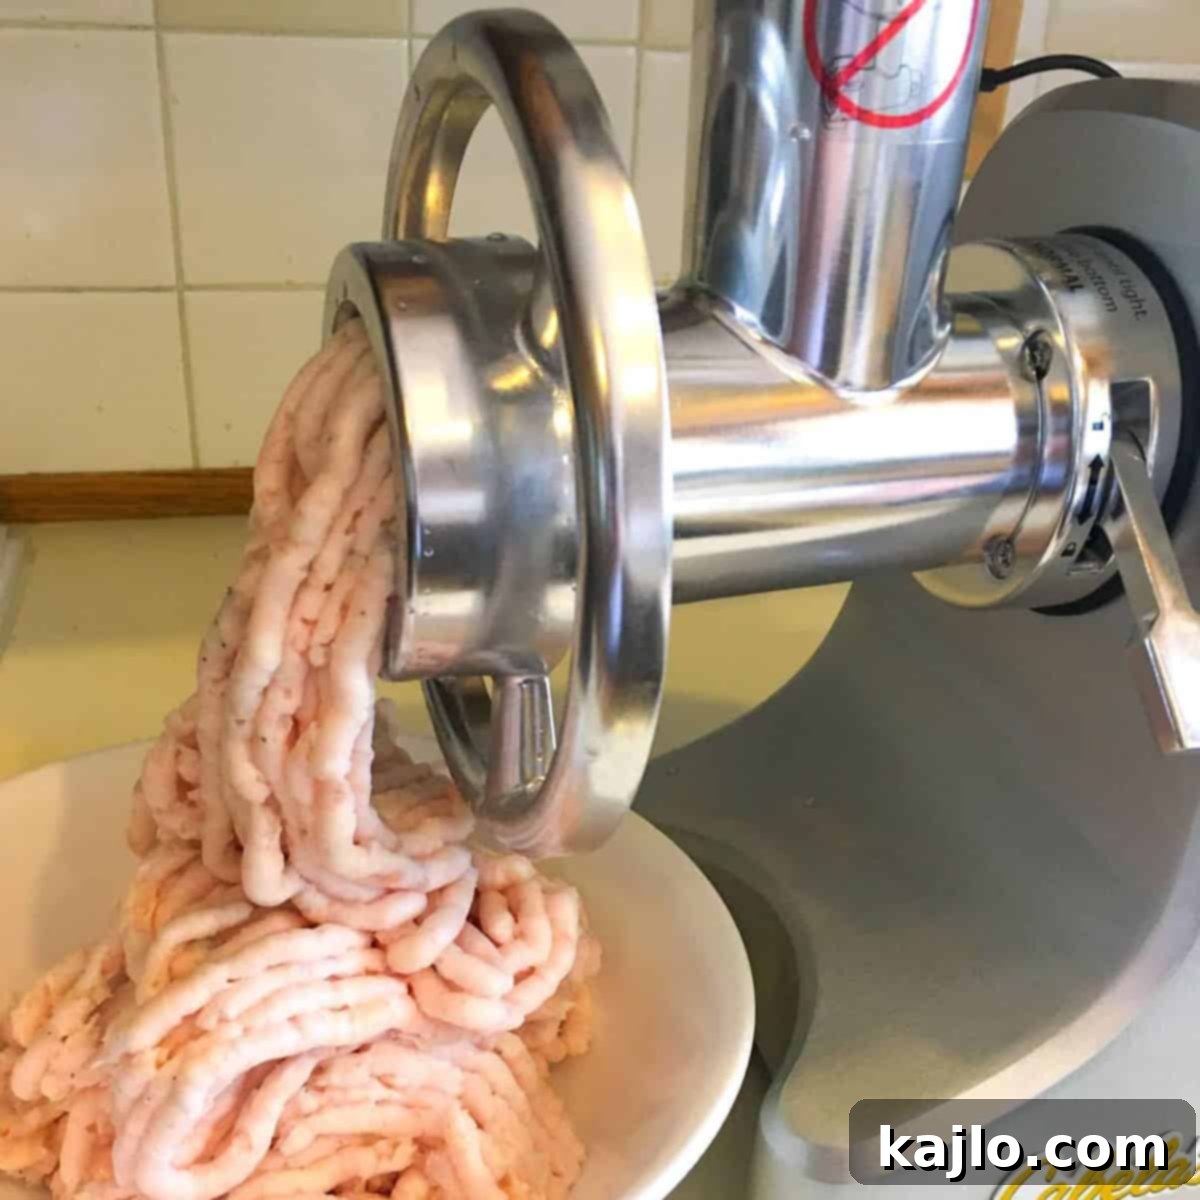
It proved much more efficient to drop just a few cubes at a time into the chute and gently push them down with the tamper. This prevented any further jamming, and before long, I had a bowl of coarsely ground fat, perfectly ready for the slow cooker. While it might not look the most appetizing at this stage, this finely ground texture is key to maximizing your lard yield.
🐷 Step-by-Step: How to Render Pork Fat in a Slow Cooker
With the fatback meticulously ground, it was time for the actual rendering – the easiest and most rewarding part of the process. I transferred all the ground fat into my slow cooker and set it to a low temperature. This gentle heat is crucial for slowly melting the fat without scorching it, which helps achieve that desirable snowy white color and neutral flavor.
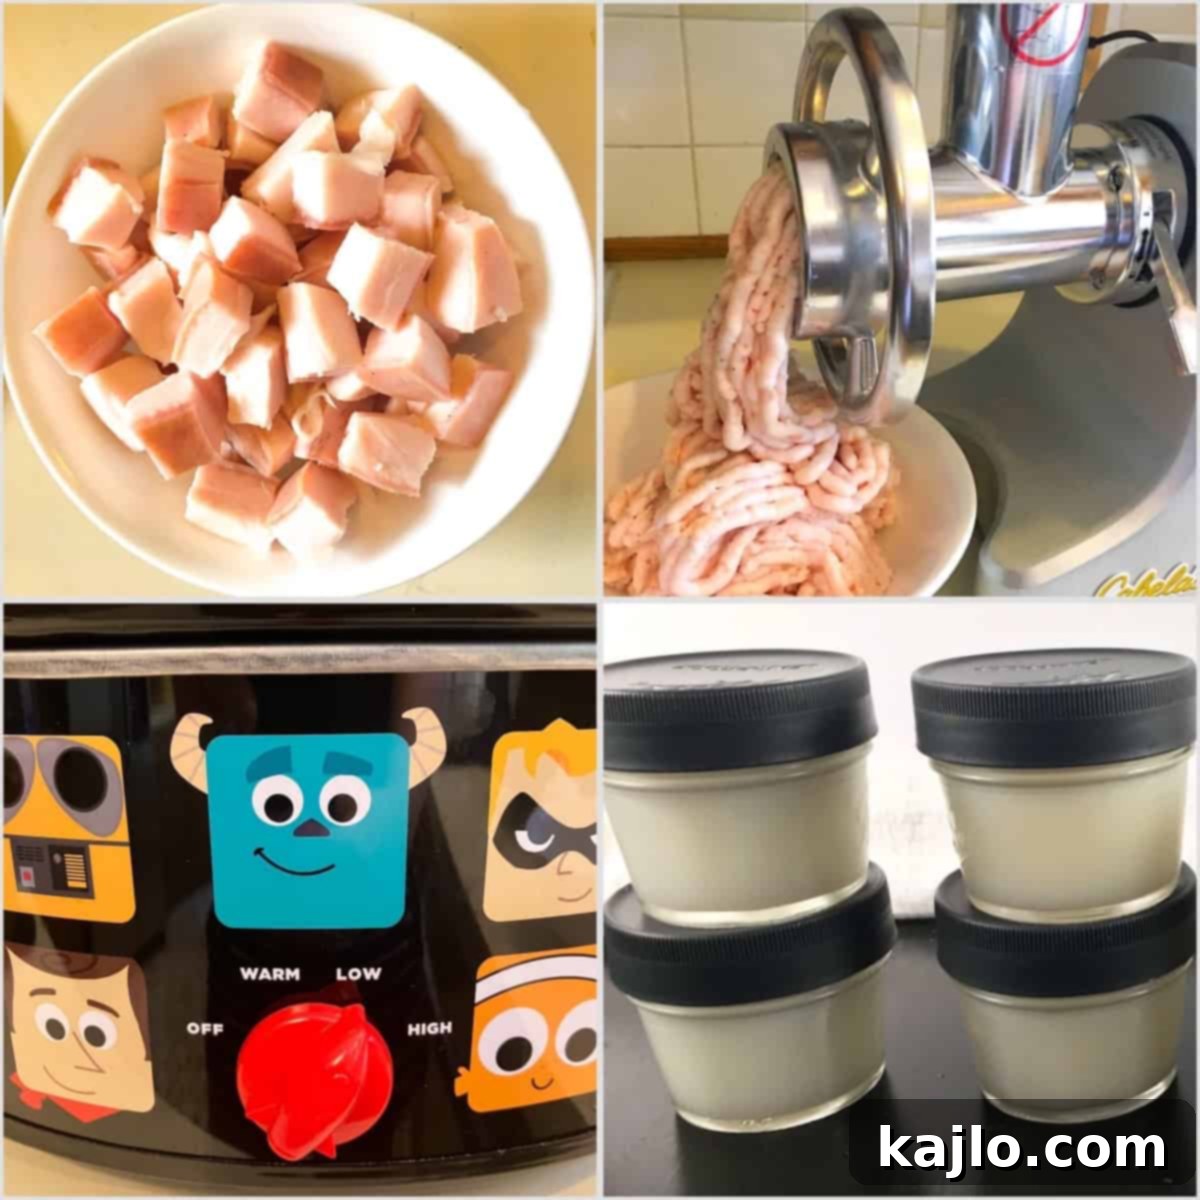
The key to perfect crock pot lard is regular siphoning. Every hour, I would carefully siphon off all the liquified oil that had accumulated into clean, food-safe jars. A turkey baster proved incredibly useful for this task, making the process simple and mess-free. The goal is to remove the pure, rendered lard as it forms, leaving the solid bits (known as cracklings) behind to continue rendering.
The first hour of rendering was particularly productive, yielding approximately 1.5 cups of beautifully clear, colorless oil – pure lard perfection. Once allowed to chill, this liquid transformed into a creamy, solid white fat, exactly what we’re aiming for. After two hours, I collected another 1.25 cups of oil. The third hour yielded roughly 1 cup. In my experience, stopping the rendering process around this point (2-3 hours) usually provides the highest quality lard.

As you can see from my experimentation, by hour four, the oil I managed to obtain had noticeably changed from clear to a golden hue. This mere 0.5 cup of oil was unfortunately overcooked and emitted a slightly burnt smell, indicating I had gone too far. For those aiming for the absolute highest quality and purest white lard, consider siphoning every half hour instead of every hour to ensure the fat is removed at its prime. Any remaining solids in the pot, if not yet crispy, can be further fried in a cast iron pan to create delicious pork cracklings.
Hot tip: These instructions can also be applied to render beef fat into high-quality beef tallow, a versatile fat perfect for savory dishes!
How to Store Your Freshly Rendered Lard
Once your homemade lard has cooled completely to room temperature, transfer it to airtight containers or your freezer-safe jars. For immediate use, keep a small jar in your refrigerator. It’s important to remember that homemade lard, being free of industrial preservatives, tends to spoil more quickly than store-bought varieties. For longer storage, the freezer is your best friend, where it will keep for many months.
🥧 How to Use Lard: Elevating Your Cooking and Baking
At this point, you might be wondering why anyone would invest this effort when butter is so readily available. The answer lies in the unparalleled culinary results. As I mentioned earlier, and subjectively confirmed through countless baking experiments, lard consistently produces superior crackers, biscuits, and pie crusts compared to butter.
To illustrate this, my family conducted a butter-versus-lard trial using the King Arthur sourdough cracker recipe. The outcome was a clear victory for lard. While the crackers made with butter were undoubtedly lovely, those crafted with lard were noticeably flakier and possessed a richer, more complex flavor profile.
It’s important to note, however, that my benchmark baking trial utilized *leaf lard*, which is considered the highest grade of lard, specifically rendered from the fat surrounding the pig’s kidneys. The lard we’ve just made from fatback originates from a different part of the pig. Understanding the distinctions between various types of lard is crucial for optimizing their use in your kitchen.
- **Leaf Lard:** With its neutral flavor, leaf lard is the gold standard for baking, pastries, and any recipe where you desire supreme flakiness and a clean taste.
- **Back Fat Lard (Fatback Lard):** This type of lard has a light, subtle “porky” flavor – much milder than bacon grease – which makes it exceptional for savory applications like roasting vegetables, sautéing, or frying. It’s also an indispensable ingredient in traditional recipes such as homemade tamales, where its unique flavor enhances the dish.
That said, culinary rules are often made to be broken! I’ve certainly used fatback lard in baked goods and leaf lard in tamales when it was what I had on hand. Sometimes, the best ingredient is simply the one you’ve got ready to go.
I also find that my homemade lard is often softer at room temperature than commercially produced lard. Its easily spreadable consistency means I can sometimes use slightly less in recipes that call for solid fats, adjusting as needed. Some people even enjoy spreading it on bread as an alternative to butter!
Frequently Asked Questions About Rendering Lard
When is lard considered fully rendered?
Lard is typically considered fully rendered when it transforms into a clear, liquid state. All the solid bits (cracklings) should appear crispy and golden to dark brown, and the liquid lard itself will emit a pleasant, subtle, nutty aroma, indicating it’s done without being overcooked.
How can I render lard more quickly?
To expedite the rendering process, ensure your fat is cut into very small, uniform pieces to maximize surface area. Employing a dry rendering method (without adding water) will also speed things up. While increasing the heat might seem like a shortcut, proceed with caution: higher temperatures require constant stirring to prevent the lard from burning and developing an off-flavor.
Is it necessary to add water when rendering lard?
Adding water (known as wet rendering) is an optional technique. It can help regulate the temperature, reducing the risk of scorching the fat. However, wet rendering generally takes longer than the dry rendering method described here, as the water must first evaporate before the fat can fully render.
Can lard be over-rendered?
Absolutely. Over-rendering lard can result in a burnt taste and an undesirable golden color instead of the pristine white. It’s crucial to diligently monitor the process and remove the liquid fat from the heat as soon as it reaches its ideal clear state, and the cracklings are appropriately browned.
How do you render pork fat on the stove top?
For rendering pork fat on the stove, begin by cutting the fat into small, uniform pieces. Place them in a heavy-bottomed pot or Dutch oven over very low heat. Cook slowly, stirring occasionally to prevent sticking and ensure even rendering, until all the fat has melted and the solid bits are crispy. Once done, strain the hot liquid fat through several layers of cheesecloth or a fine-mesh sieve into your storage containers.
What’s the process for rendering pork fat in the oven?
To render pork fat in the oven, chop the fat into small cubes and spread them evenly in a roasting pan or oven-safe dish. Preheat your oven to a low temperature, typically around 250°F (120°C). Bake, stirring the fat occasionally, until all the pieces have rendered and turned golden and crispy. As with other methods, strain the liquid lard once it’s finished.
Why might my rendered lard not be white?
Lard may not achieve a snowy white color if it contains impurities or has been slightly overcooked. To produce whiter lard, ensure your fat is as clean as possible before rendering. Filtering the liquid lard through multiple layers of cheesecloth or a very fine mesh sieve after rendering helps remove any impurities. Most importantly, avoid overheating during the rendering process, as high temperatures quickly lead to discoloration.
👩🏻🍳 Explore More Pork-Inspired Culinary Creations
If you found this guide on how to render pork fat helpful and are eager to explore more delicious pork recipes, consider trying some of these favorites:
- Pork Belly Pasta Recipe
- Perfect Boston Butt Roast
- St. Louis Ribs in the Oven
- How to Cook Costco Pork Belly
- Dutch Oven Pork Chops Recipe
- Air Fryer Pork Roast
Join our culinary community! Subscribe now to stay up-to-date on all our latest and greatest recipes. You can also follow us on Pinterest, Twitter, Instagram, and YouTube for more culinary inspiration!
Recipe Card: How to Render Lard in a Crock Pot

How to Render Lard in a Crock Pot (Render Pork Fat Slow Cooker)
By Summer Yule
Learn how to render lard in a crock pot! Creamy, snowy white lard (AKA rendered pork fat) makes flakier and more delicious crackers, biscuits, and pie crusts than you will get with other fats.
Cook Time: 3 hours
Total Time: 3 hours
Course: Slow Food DIY
Cuisine: American
Servings: 60 (varies)
Calories: 116 kcal (per serving)
Ingredients:
- 2-4 lbs (0.9-1.8 kg) pork fatback
- Freezer space 🙂
Instructions:
- Keep the slabs of fatback at 38-40°F/3.3-4.4°C (almost frozen) for easier cutting and grinding. Cut the fatback into 1-inch (2.54 cm) cubes (or smaller). You may choose to keep the skin on the fatback.
- Using a meat grinder, coarsely grind the cold fatback cubes. Send them through the grinder slowly, being careful not to jam your grinder. (If your grinder cannot handle the fat cubes or you do not have a grinder, you may skip this step. However, it is likely that your lard yield will be lower.)
- Put the ground fatback (or the fatback cubes) in a slow cooker and set it on low. Cover the slow cooker.
- Every hour, siphon off all of the oil you can into food-safe jars. A turkey baster makes this easier. Leave the solids (cracklings) in the slow cooker.
- Continue collecting the lard every hour (or every half hour, if desired) for a total of 2-3 hours. The lard you collect should be clear and nearly colorless. I found that the oil collected beyond three hours had turned golden and was overcooked.
- Let your lard cool completely to room temperature. Put lids on the jars and store them in the fridge or freezer, depending on how quickly they will be used. Keep in mind that homemade lard typically does not last as long as store-bought lard in the refrigerator.
Equipment:
- Slow Cooker
- Knife
- Meat Grinder
- Turkey Baster
Notes & Expert Tips from Dietitian Summer Yule:
This is a level 3 recipe (weight maintenance and active lifestyles). There’s been a lot of nutritional fear-mongering around the use of lard, and I find it unfortunate. Lard is one of your best bets (nutritionally) for a solid cooking fat that has been minimally processed.
Compared to two other popular natural fats, butter, and coconut oil, lard is a winner on several fronts. I think it’s fair to compare lard to other solid fats as they tend to be used for similar baking applications. Though I have seen liquid oils (like olive oil) used in cakes, butter and lard are more easily interchanged in recipes.
Lard vs Butter Nutrition (per 1 tablespoon):
| Lard | Butter, unsalted | Coconut oil | |
| Calories | 116 | 102 | 122 |
| Total Fat (g) | 12.8 | 11.5 | 13.5 |
| Monounsat Fat (g) | 5.8 | 3.3 | 0.9 |
| Polyunsat Fat (g) | 1.4 | 0.4 | 0.2 |
| Saturated Fat (g) | 5.0 | 7.2 | 11.2 |
| Trans Fat (g) | 0.1 | 0.5 | 0 |
| Vitamin A (%DV) | 0 | 15 | 0 |
| Vitamin D (%DV) | 2 | 0 | 0 |
| Vitamin E (%DV) | 0 | 2 | 0 |
Source: Cronometer
The first thing you may notice is that butter (by volume) is lower in calories than both lard and coconut oil. This is because it contains dairy solids in addition to butterfat. (Calorie information on U.S. food labels is rounded, so you’ll usually see butter listed as 100, lard as 120, etc.)
The real thing I’m interested in here, though, is the fatty acid breakdown. If you are following mainstream nutrition, you know total fat and dietary cholesterol are not the focus of recommendations anymore. Types of fatty acids are considered more important to look at.
If you are trying to lower your LDL (“bad”) cholesterol, the recommendation is to try and lower saturated fat intake. On the other hand, heart-healthy monounsaturated fats (rich in olive oil) are thought to be beneficial in lowering “bad” cholesterol (source).
As you can see in the table, lard is the lowest in saturated fat and highest in monounsaturated fat of the three. Additionally, it provides a little vitamin D, a nutrient that many are low in. Though coconut oil is a plant-based food, lard appears to be the winner in terms of fatty acid profile, especially when considering monounsaturated fat content.
Lard vs Shortening: A Healthier Choice
My family largely avoids the use of ultra-processed vegetable shortenings, another solid fat option. I find them inferior both in taste and as a baking ingredient. While vegetable shortenings were initially marketed as a “healthier” alternative to lard and butter, they proved to be far from it. The original formulations were laden with partially hydrogenated oils, which the FDA eventually deemed not Generally Recognized as Safe (GRAS). Although these products have undergone reformulations since the 2000s, many discerning cooks wisely choose to stick with traditional fats like lard and butter.
In general, I aim to source most of my fat from whole foods and moderate my intake of added fats. However, I wholeheartedly embrace the use of ingredients like lard and butter in my cooking to enrich flavors and textures, though they are never the main component of a meal.
In my kitchen, olive oil and avocado oil are the primary liquid fats I rely on. Lard and butter are used judiciously when a solid cooking fat is required. Occasionally, I also use other oils, such as coconut oil or sesame oil, purely for their distinct flavors.
A little goes a long way when it comes to energy-dense added fats like butter and lard. My goal is to savor them in delicious recipes without overindulging. However, some individuals may need to be more cautious with their fat intake than I am.
For those with specific medical conditions that necessitate a highly restrictive saturated fat intake, lard and other solid fats might not align with their dietary plan. In such cases, olive oil and avocado oil would be preferable options for added fats. Always “know thyself” and consult with a healthcare professional or registered dietitian for personalized dietary advice.
Nutrition information is for one serving.
Nutrition Info Disclaimer
All recipes on this website may or may not be appropriate for you, depending on your medical needs and personal preferences. Consult with a registered dietitian or your physician if you need help determining the dietary pattern that may be best for you.
The nutrition information is an estimate provided as a courtesy. It will differ depending on the specific brands and ingredients that you use. Calorie information on food labels may be inaccurate, so please don’t sweat the numbers too much.
“To taste” means to your preferences, which may have to be visual to follow food safety rules. Please don’t eat undercooked food.
Keywords: fatback, how to make lard, how to render lard in a crock pot, how to render pork fat in a slow cooker, render lard, render pork fat, rendering lard, rendering pork fat, homemade lard, crock pot lard.
Shop Our Cookbook!
Easy Air Fryer Recipes for One
Burning Your Air Fryer Recipes?
Here’s how to fix it!
What is your favorite type of solid fat for cooking and baking? Do you ever bake with lard, and if so, what are your favorite ways to use it? Drop me a comment below and let me know!
