Master the Art of Growing Broccoli Sprouts at Home: A Beginner’s Guide
Do you dream of a vibrant indoor garden but feel like you lack a “green thumb”? This comprehensive tutorial on how to grow broccoli sprouts will transform your kitchen into a verdant mini-farm in just a few days. It’s an incredibly rewarding and surprisingly simple project, turning tiny broccoli seeds into crisp, edible sprouts packed with nutrients. All you need are the right seeds, a canning jar, a piece of cheesecloth, and water. Sprouting broccoli seeds is not only a fantastic way to introduce more fresh vegetables into your diet, especially during the colder winter months, but it’s also a wonderfully engaging activity for kids and adults alike.
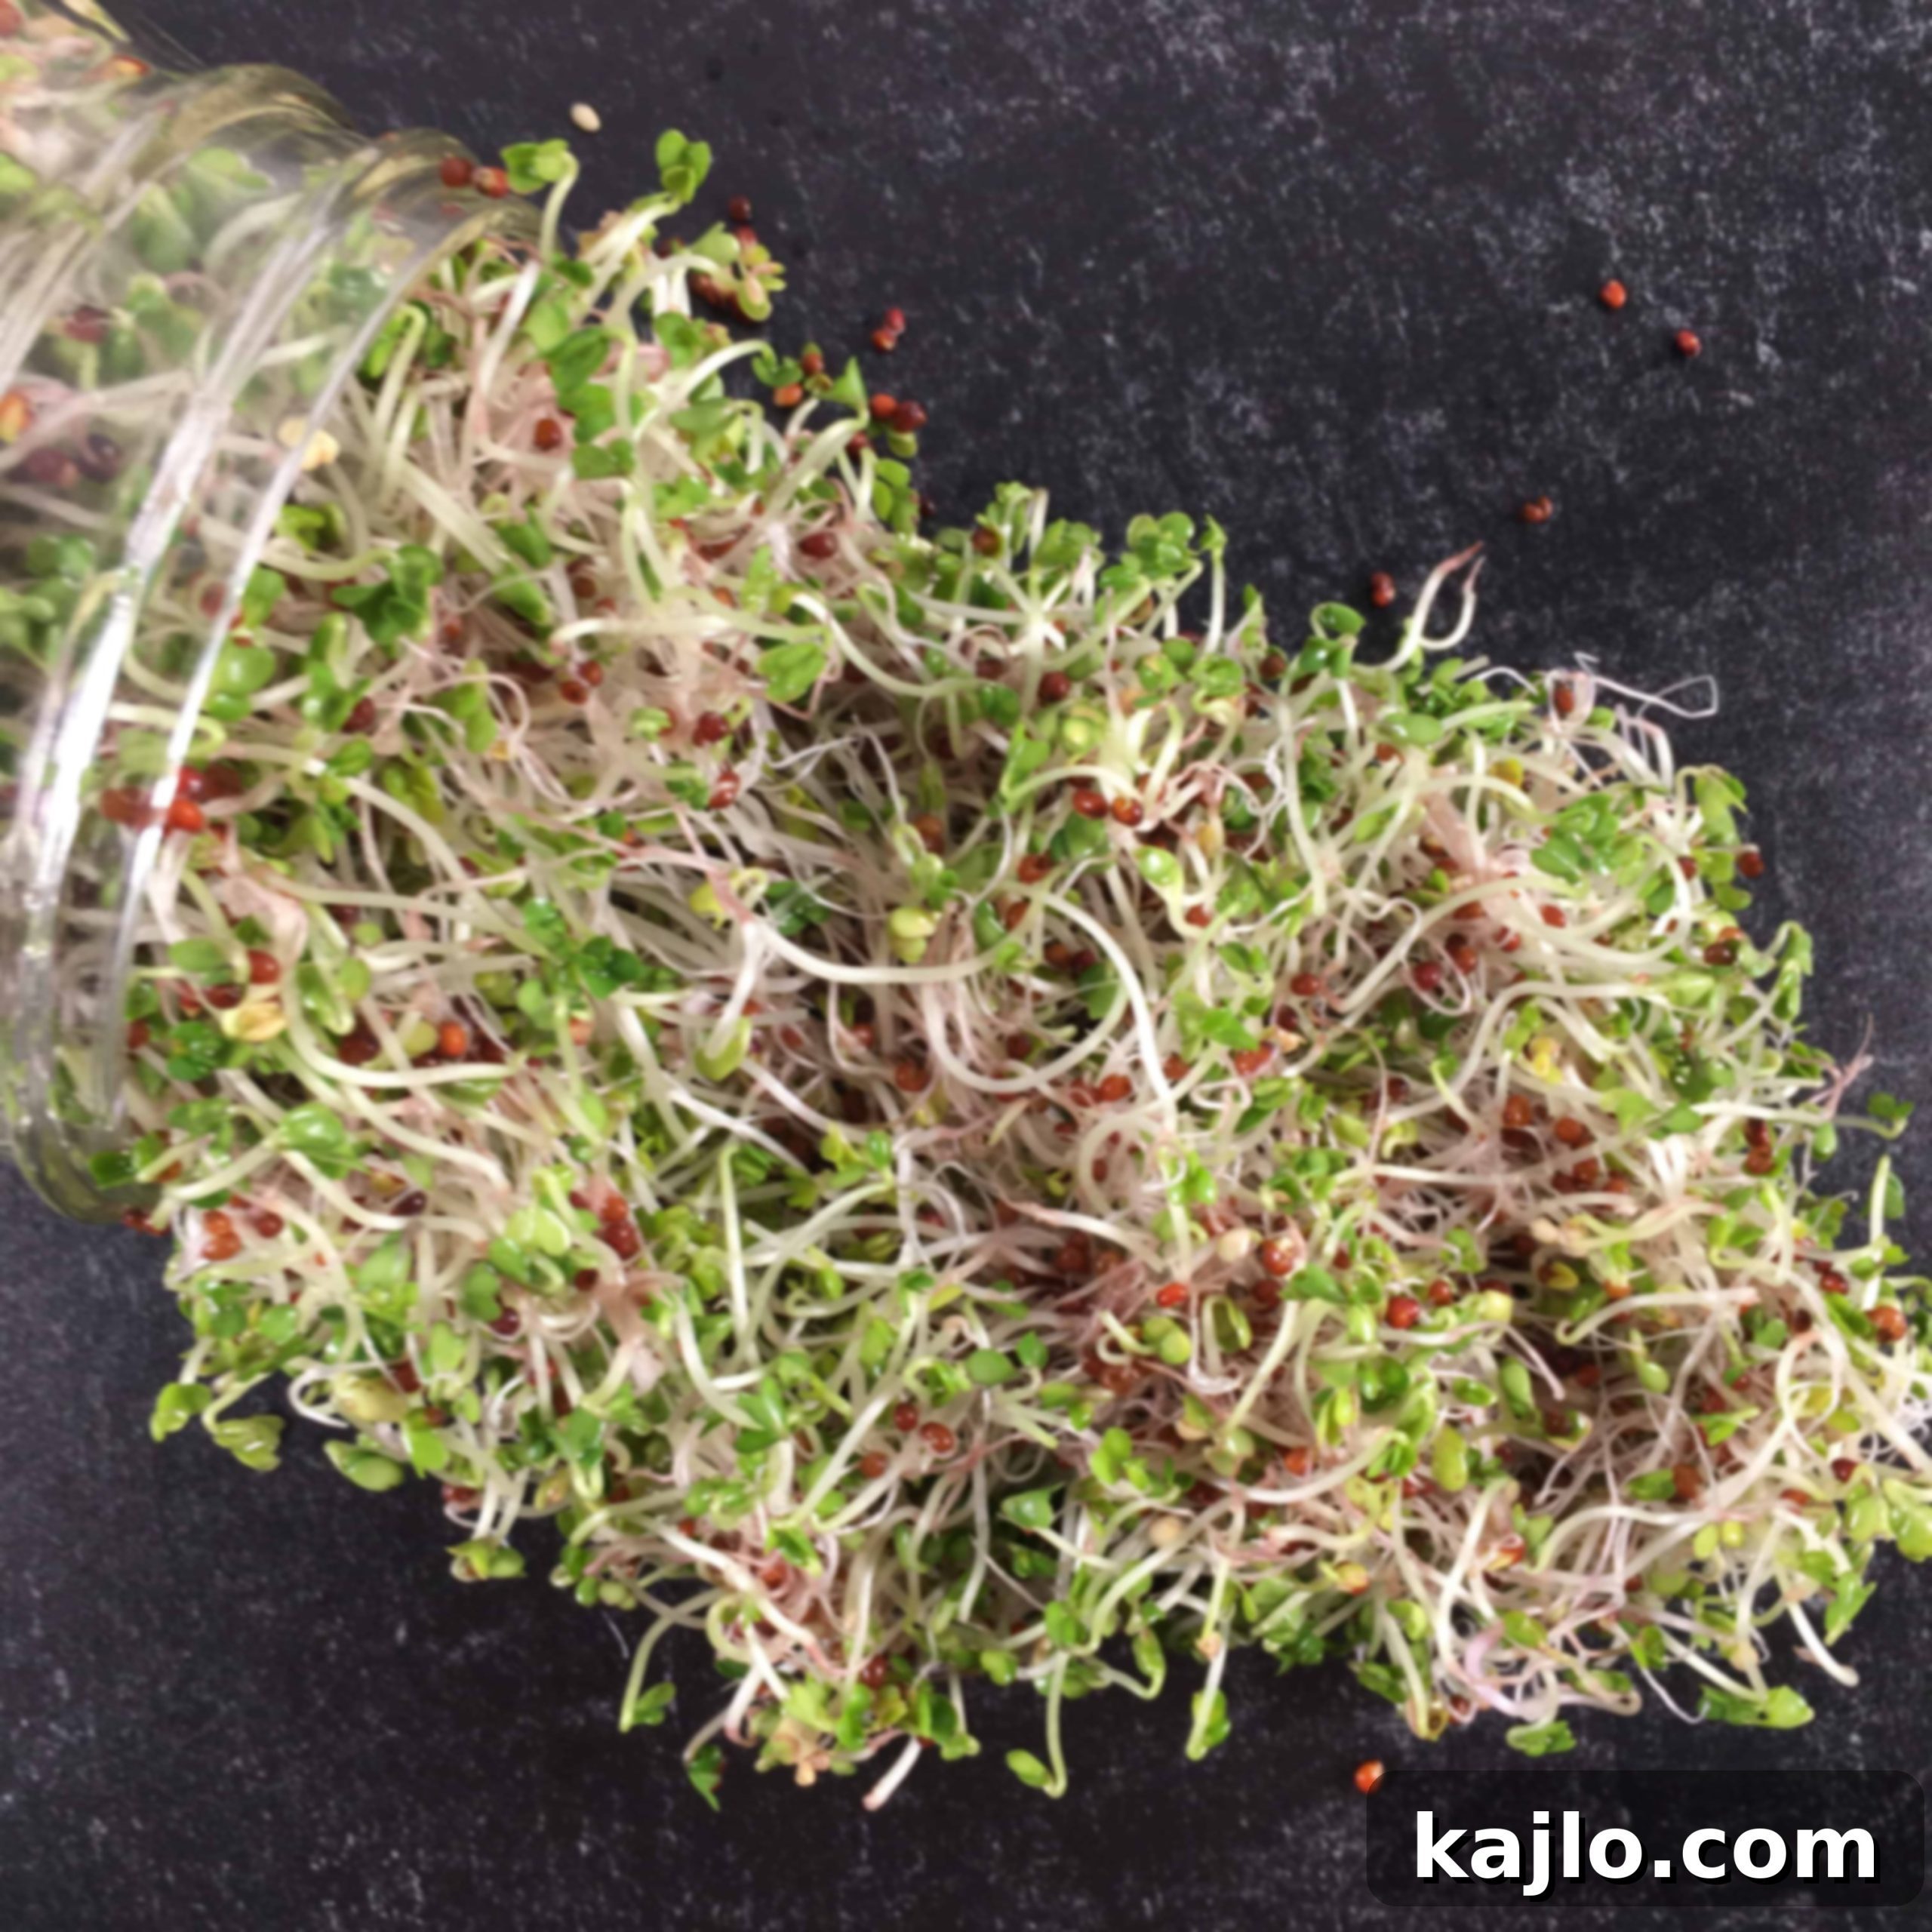
Growing these tiny greens is remarkably forgiving. Even with less-than-ideal conditions, such as growing them in a passive solar home during winter with limited sunlight due to large trees, and dealing with a drafty kitchen in the chilly northeast United States where the heat is lowered overnight for energy conservation, these sprouts thrived. This personal experience underscores a crucial point: you don’t need a perfect greenhouse environment to successfully sprout broccoli seeds. They are incredibly resilient, making them one of the easiest plants you can cultivate indoors. Simply gather your super tiny seeds, a canning jar, and some cheesecloth, and you’re all set to begin your sprouting adventure.

Why Embrace Broccoli Sprouting? Beyond Just a Green Thumb
Sprouting your own broccoli offers a multitude of benefits beyond merely providing fresh greens. It’s an empowering step towards self-sufficiency and healthier eating. Here’s why more people are turning to home sprouting:
- Year-Round Freshness: No matter the season outside, you can enjoy fresh, vibrant broccoli sprouts indoors, ensuring a constant supply of nutrient-rich produce.
- Cost-Effectiveness: A small packet of sprouting seeds yields a surprisingly large amount of sprouts, making it a very economical way to add high-value nutrition to your meals.
- Control Over Your Food: By growing your own, you have complete control over the environment. You can ensure your sprouts are organic, free from pesticides, and grown in clean conditions, something not always guaranteed with store-bought options.
- Educational for All Ages: The rapid growth cycle of sprouts makes them an exciting project for children, teaching them about plant life, healthy eating, and patience.
- Minimal Space Required: Sprouting jars take up very little counter space, making this an ideal gardening project for apartments or homes without outdoor garden access.
- Pure Satisfaction: There’s immense satisfaction in watching life emerge from tiny seeds and knowing you’re cultivating a superfood right in your kitchen.
Embracing broccoli sprouting means taking an active role in your family’s health and enjoying the freshest, most potent form of this cruciferous vegetable.
The Potent Health Benefits of Broccoli Sprouts: A Nutritional Powerhouse
While it’s important to advocate for a varied diet rather than focusing on “magical” foods, broccoli sprouts undeniably fall into the category of health-promoting foods. The science behind their benefits is compelling, particularly concerning a compound called sulforaphane.
A Powerhouse of Glucoraphanin: Broccoli sprouts offer a significant advantage over mature broccoli plants. They may contain 10-100 times more glucoraphanin, which is a precursor to sulforaphane. Sulforaphane is a potent isothiocyanate found in cruciferous vegetables that has been extensively studied for its link to a reduced risk of certain types of cancer. This concentration makes sprouts an incredibly efficient way to intake this beneficial compound.
How Sulforaphane Works: Sulforaphane is believed to exert its health benefits through several mechanisms. It acts as a powerful antioxidant, helping to neutralize harmful free radicals in the body. More notably, it’s known for activating the Nrf2 pathway, a critical cellular defense pathway that regulates antioxidant and detoxification genes. This activation helps the body detoxify harmful substances and reduce inflammation at a cellular level, contributing to overall health and potentially offering protection against various chronic diseases.
Whole Foods Reign Supreme: It’s tempting to think a supplement could replicate the benefits of consuming fresh broccoli sprouts, but research suggests otherwise. Studies have shown that the bioavailability of sulforaphane is “dramatically lower” in individuals taking supplements compared to those eating fresh sprouts. This is a common theme in nutrition: whole foods often deliver a complex synergy of compounds that supplements simply cannot replicate. So, for maximum benefit, fresh sprouts are the way to go.
Optimal Sprouting Time for Benefits: The concentration of glucoraphanin can vary depending on the sprout’s age. Some studies that found a high content of glucoraphanin looked at 3-day old sprouts. However, many find sprouts more palatable and visually appealing when they develop small green leaves, which typically takes 6-7 days. If your primary goal is maximizing the potential health benefits of sulforaphane, you might consider stopping the sprouting process a bit earlier, around day 3-5, though even at day 7, they are incredibly nutritious.
While nutrition science is continually evolving, incorporating a wide variety of whole foods, including potent options like broccoli sprouts, is a wise strategy for long-term health. Don’t let their small size fool you; these tiny greens pack a significant nutritional punch.
Setting Up Your Sprouting Station: What You’ll Need
One of the beauties of sprouting is the minimal equipment required. You likely have most of these items in your kitchen already!
Essential Equipment:
- Broccoli Seeds: This is the most crucial ingredient. Make sure to purchase seeds specifically labeled for sprouting, as gardening seeds may be treated with chemicals that are not safe for consumption. Look for organic, non-GMO sprouting seeds from a reputable supplier. (Get broccoli seeds here)
- Wide-Mouth Quart Jar: A standard canning jar with a wide mouth is ideal. The wide mouth allows for better airflow and makes rinsing and draining much easier. Glass jars are preferred as they are non-reactive and easy to clean.
- Cheesecloth: A double layer of cheesecloth secured with the jar’s rim (or a rubber band) acts as a perfect breathable cover, allowing water to drain while keeping the seeds contained.
- Water: Use clean, filtered water if possible. Tap water often contains chlorine or other chemicals that could potentially hinder sprout growth, although they often grow fine with tap water too.
That’s it! No fancy grow lights, soil, or complex hydroponic systems are needed. The simplicity of the setup makes sprouting accessible to everyone, regardless of gardening experience.
Watch How to Make It!
[Video content would typically be embedded here, but due to instructions to remove JavaScript, it is omitted. The video title remains as a placeholder.]
How to Grow Broccoli Sprouts (Sprouting Broccoli Seeds)
Summer Yule
Print Recipe
Pin Recipe
Ingredients
- 2 tablespoons broccoli seeds (Buy from Burpee or get broccoli seeds here)
- water
Love this recipe? Please leave a comment below 😊
Instructions
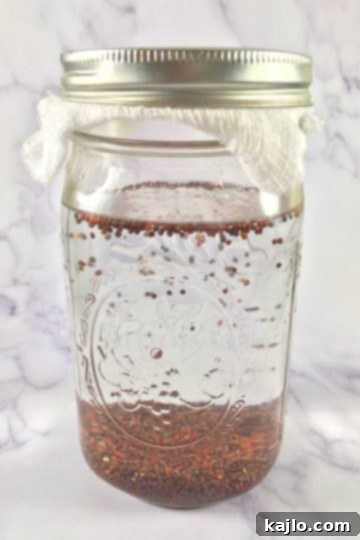
- Day 1: Put the seeds in a quart-size wide-mouth canning jar. Fill the jar up to the neck with lukewarm water. Cover the top of the jar with a double layer of cheesecloth that has been secured by the jar rim. Let the seeds soak overnight.

- Day 2: In the morning, drain all of the water out of the jar through the cheesecloth (so that you do not lose the seeds). Put more water into the jar (through the cheesecloth is fine) and drain it well again. Let the drained and covered jar rest on its side in a sunny windowsill. (If it’s not very sunny, that’s OK too.)
- In the evening, add water to the jar again and drain it well again. There is no need to remove the jar rim and cheesecloth until the sprouts are fully grown. Lay the well-drained jar back on its side on the windowsill.
- Days 3-6: Each morning and evening, repeat the rinsing and draining procedure from day 2. After rinsing and thoroughly draining, the seeds should be placed back on the windowsill on their side. (Day 1 is the only day the seeds are soaked.)
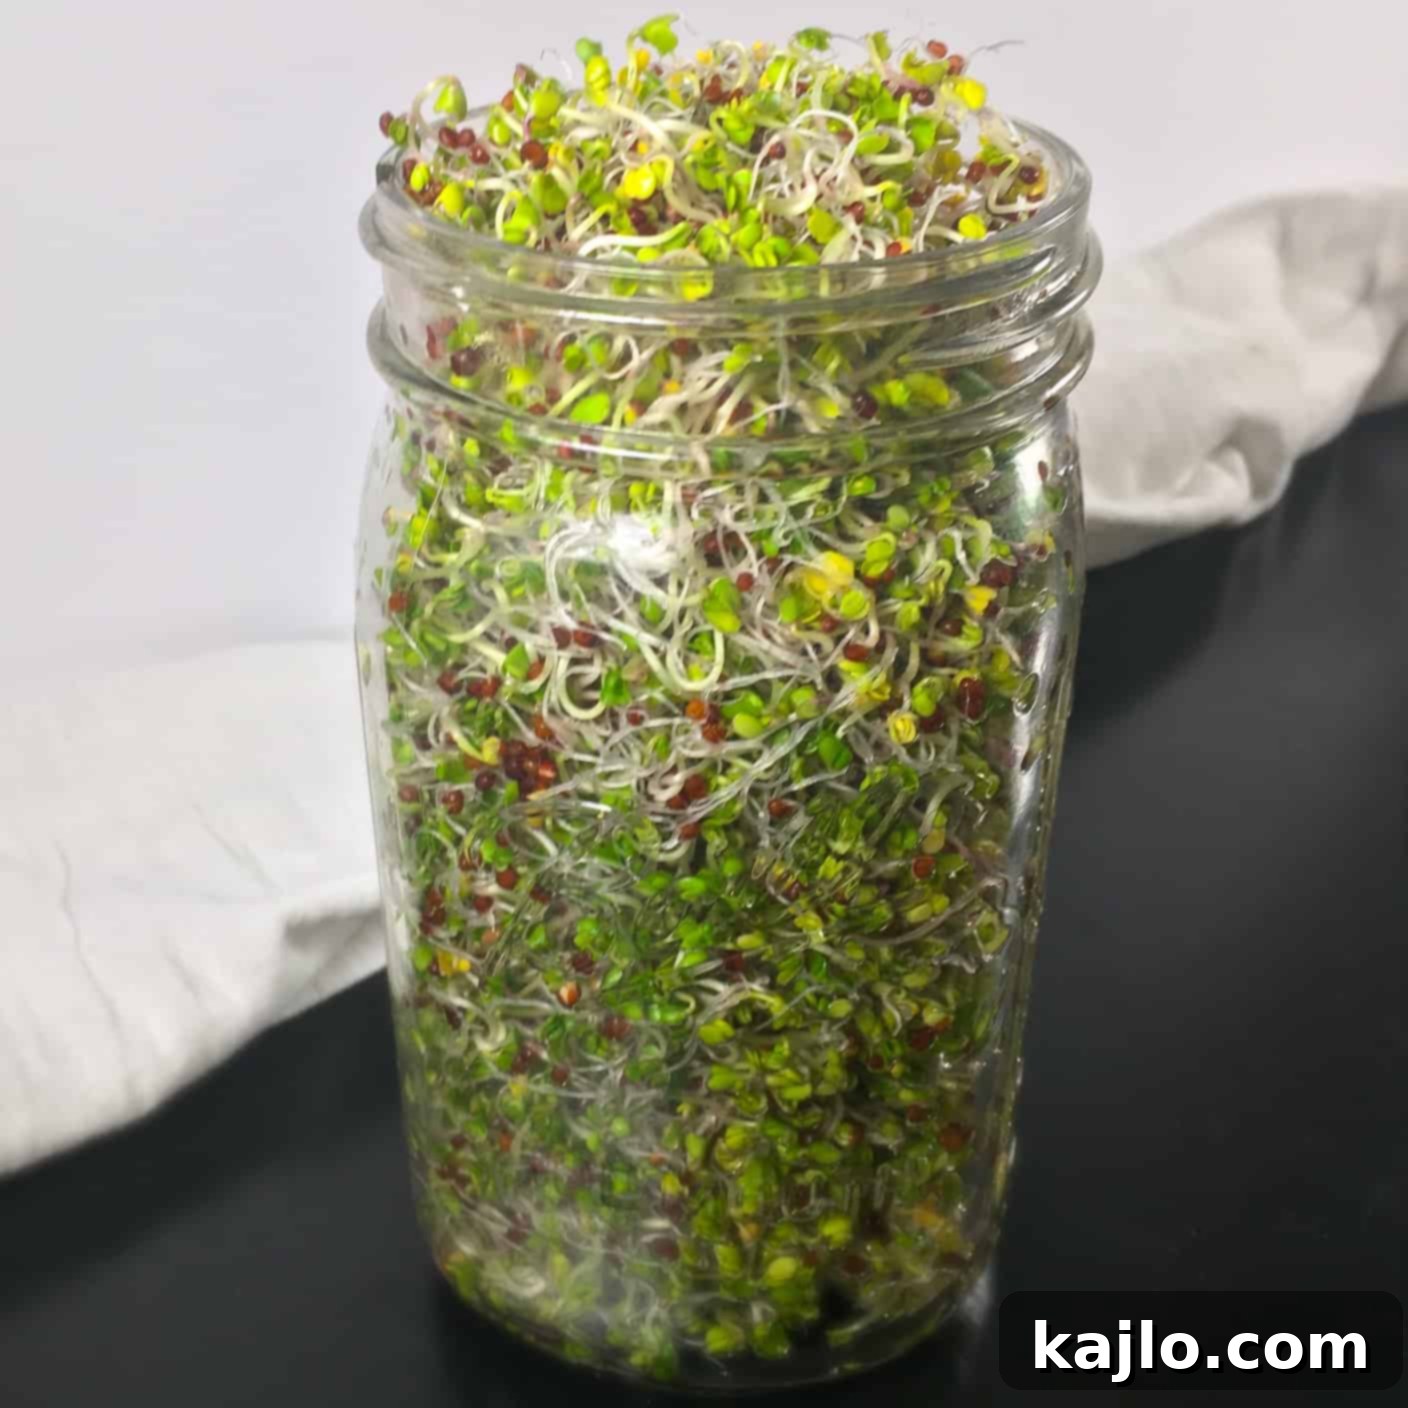
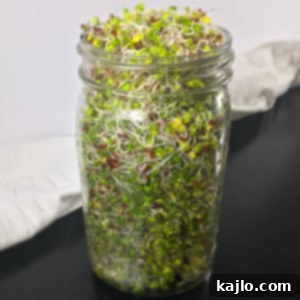
- The seeds will sprout little tails and then (after a few more days) a pair of green leaves. I let them grow until they completely fill the jar, as shown. You could stop the sprouting process earlier than this if desired.
- Day 7: On the morning of day 7, the jar was well-packed with sprouts, as shown. I removed the jar rim and cheesecloth and popped the jar in the fridge. Ideally, they should be used within a day or two.

- I yielded 4 cups of sprouts but your yield will vary depending on the growing conditions and how long you let them grow.
Save this Recipe
Saved!
Equipment
- Wide-Mouth Quart Jar
- Cheesecloth
Notes
💭 Expert Tips from Dietitian Summer Yule
Broccoli sprouts are essentially a leafy green, so of course, they are a low-calorie food. They add a peppery flavor to salads, sandwiches, tacos, or whatever else you’d like to throw them on. I’ve even seen folks blend them into smoothies!
Important: There is an elevated risk of foodborne illness with raw and lightly cooked sprouts. It is recommended that certain groups avoid raw sprouts:
- Pregnant women
- Children
- Older adults
- Immunocompromised persons
You can cook broccoli sprouts by adding them to an Instant Pot Stir Fry or maybe this Instant Pot Italian Sausage Soup.
Broccoli sprouts can be difficult to find in stores as they don’t stay fresh for long. I’d say that growing them yourself is the way to go.
How much broccoli sprouts should you eat per day?
In most studies I’ve seen linking health benefits to broccoli sprout consumption, participants ate 2-4 ounces per day (57-113 grams). In general, you don’t want to eat so many broccoli sprouts they crowd out other healthy foods from your diet.

Your Seven-Day Journey: A Step-by-Step Guide to Growing Broccoli Sprouts
Follow these simple steps to cultivate your very own broccoli sprouts. Consistency is key, especially with the rinsing and draining!
- Day 1: The Soak. Begin by placing 2 tablespoons of high-quality broccoli sprouting seeds into your wide-mouth quart jar. Fill the jar with lukewarm water, leaving about an inch or two of space from the rim. Cover the jar opening with a double layer of cheesecloth, securing it tightly with the jar ring or a sturdy rubber band. Allow the seeds to soak overnight (8-12 hours). This initial soak kick-starts the germination process.
- Day 2: First Rinse and Drain. In the morning, tilt the jar to drain all the soaking water through the cheesecloth. Rinse the seeds thoroughly by filling the jar with fresh water, swirling gently, and then draining completely. The most critical part of sprouting is ensuring proper drainage; no standing water should remain in the jar, as this can lead to mold. After draining, lay the jar on its side in a location that receives indirect sunlight, like a windowsill. Repeat this rinse and drain procedure in the evening.
- Days 3-6: The Daily Ritual. Continue the rinsing and draining process twice daily (morning and evening). Each time, fill the jar with fresh water, swirl, and drain completely through the cheesecloth. It’s essential that the jar is thoroughly drained after each rinse to prevent bacterial growth. After rinsing, always place the jar back on its side on the windowsill. During these days, you’ll start to see tiny “tails” (roots) emerging, and then small green leaves (cotyledons) will develop. The green color comes from chlorophyll, which forms when the sprouts are exposed to light.
- Day 7: Harvest Time! By the morning of day 7, your jar should be packed full of vibrant, green broccoli sprouts. They are typically ready when they have developed small green leaves and filled the jar. Remove the cheesecloth and jar rim. Give them one final rinse and thorough drain.
Troubleshooting Common Sprouting Challenges:
- Mold vs. Root Hairs: Sometimes new sprouters confuse fuzzy white root hairs with mold. Root hairs are fine, white, and grow directly from the sprout, appearing uniformly. Mold, on the other hand, is usually patchy, grayish or black, and often has a distinct, unpleasant smell. If you suspect mold, it’s best to discard the batch.
- Lack of Growth: Ensure your seeds are fresh and specifically for sprouting. Also, make sure they are getting enough warmth (room temperature is ideal) and consistent rinsing.
- Offensive Odor: A slight earthy smell is normal, but a strong, putrid odor indicates bacterial growth, usually due to insufficient drainage or rinsing. Discard and start fresh with cleaner practices.
Your yield may vary based on conditions, but typically, two tablespoons of seeds will produce about 4 cups of fresh sprouts.
Maximizing Freshness: Harvesting and Storing Your Sprouts
Once your broccoli sprouts have reached their desired size, typically around day 7 when they fill the jar and have green leaves, it’s time to harvest and prepare them for storage. Proper storage is key to maintaining their freshness and extending their shelf life.
Harvesting: After their final rinse and drain on harvest day, gently shake out any excess water. You can carefully remove them from the jar. Some people like to give them a final gentle rinse in a bowl of water and then spin them dry in a salad spinner to ensure they are as dry as possible before storage.
Storing: The most crucial aspect of storing sprouts is to keep them dry and allow for some air circulation. Moisture is the enemy of fresh sprouts and can quickly lead to spoilage. Here’s how:
- Paper Towel Method: Line an airtight container with a paper towel. Place your dried sprouts on top of the paper towel, then add another layer of paper towel over the sprouts before sealing the container. The paper towels will absorb excess moisture.
- Ventilated Container: Some specialty sprout storage containers are designed with ventilation to promote airflow and prevent condensation.
Store your broccoli sprouts in the refrigerator. Ideally, they should be consumed within 1-2 days for peak freshness and nutritional value. With careful storage, they can often last up to 5-7 days.
Deliciously Versatile: Incorporating Broccoli Sprouts into Your Diet
Broccoli sprouts boast a delightful peppery, slightly bitter flavor, reminiscent of mild radishes or arugula, which makes them an excellent addition to a wide range of dishes. Their crisp texture and vibrant green color also add visual appeal.
Here are some creative ways to enjoy your homegrown broccoli sprouts:
- Salads and Bowls: Toss them into any green salad for an extra crunch and a nutritional boost. They also make a fantastic topping for grain bowls or Buddha bowls.
- Sandwiches and Wraps: Replace traditional lettuce or add sprouts to your sandwiches and wraps for a fresh, zesty flavor.
- Smoothies: Don’t be afraid to blend them into your morning smoothie! Their flavor is often masked by fruits, but their nutrients remain intact.
- Soups and Stir-fries: While often enjoyed raw, sprouts can also be lightly cooked. Add them to the very end of cooking soups or stir-fries to retain some crunch and nutrients.
- Toppings: Sprinkle them generously over avocado toast, tacos, scrambled eggs, omelets, or even pizza after it comes out of the oven.
- Garnish: Use them as a simple, elegant garnish for almost any savory dish.
As a dietitian, I often recommend aiming for 2-4 ounces (57-113 grams) of broccoli sprouts per day to potentially reap the health benefits observed in many studies. Remember, variety is key in a healthy diet, so enjoy your sprouts alongside a diverse array of other healthy foods.
Important Health & Safety Notes on Raw Sprouts
While extremely nutritious, raw and lightly cooked sprouts carry an elevated risk of foodborne illness. This is because the warm, moist conditions ideal for sprouting are also conducive to bacterial growth.
Recommended Groups to Avoid Raw Sprouts:
- Pregnant women
- Children
- Older adults
- Immunocompromised persons
If you fall into one of these categories or prefer to minimize risk, consider lightly cooking your broccoli sprouts. Adding them to a hot dish, such as an Instant Pot Stir Fry or Instant Pot Italian Sausage Soup, can help reduce potential pathogens. Always ensure your equipment is thoroughly cleaned and sterilized before use, and adhere strictly to the rinsing and draining schedule to maintain a hygienic environment for your sprouts.
Given the difficulty of finding truly fresh broccoli sprouts in many stores due to their short shelf life, growing your own truly is the best way to ensure you’re getting a high-quality, fresh product.
Frequently Asked Questions About Broccoli Sprouting
- What’s the best type of broccoli seed for sprouting?
- Always use seeds specifically labeled “for sprouting” or “culinary seeds.” These are typically untreated with fungicides or other chemicals often found on garden seeds. Organic seeds are highly recommended.
- Do I need a special sprouting jar?
- While dedicated sprouting jars with mesh lids are available, a wide-mouth canning jar with cheesecloth secured by its ring works perfectly well and is often more accessible.
- How much light do broccoli sprouts need?
- Broccoli sprouts need indirect light to develop chlorophyll and turn green. Avoid direct, intense sunlight, especially during warmer months, as it can dry them out too quickly or overheat them. A bright kitchen windowsill is usually ideal.
- Can I sprout other seeds using this method?
- Yes! Many other seeds can be sprouted using a similar jar method, including alfalfa, radish, mung bean, lentil, and clover. Always research the specific requirements for each seed type, as soaking and rinsing times may vary.
- How long do homegrown sprouts last?
- When properly harvested, rinsed, dried, and stored in an airtight container with a paper towel in the refrigerator, homemade broccoli sprouts can last for 5-7 days. However, for optimal freshness and nutrient content, consume them within 1-2 days.
- What if my sprouts smell bad or get moldy?
- A slightly earthy smell is normal. A strong, sour, or putrid smell indicates spoilage or bacterial growth, often due to insufficient rinsing or draining. Discard the batch immediately. Ensure thorough rinsing and draining, and maintain good ventilation to prevent mold.
What are some of your favorite ways to incorporate sprouts into your meals? Feel free to send me your favorite broccoli sprouts recipe; I have an overabundance of sprouting broccoli seeds at the moment. Thank you and happy indoor gardening!
nutrition info disclaimer
All recipes on this website may or may not be appropriate for you, depending on your medical needs and personal preferences. Consult with a registered dietitian or your physician if you need help determining the dietary pattern that may be best for you.
The nutrition information is an estimate provided as a courtesy. It will differ depending on the specific brands and ingredients that you use. Calorie information on food labels may be inaccurate, so please don’t sweat the numbers too much.
“To taste” means to your preferences, which may have to be visual to follow food safety rules. Please don’t eat undercooked food x
Nutrition
Carbohydrates: 1g
Protein: 1g
Fiber: 1g
Vitamin A: 7% DV
Vitamin C: 21% DV
Calcium: 2% DV
Iron: 1% DV
Shop our cookbook!Easy Air Fryer Recipes for One
Burning your air fryer recipes?Here’s how to fix it!
Join our community! Subscribe for all of the latest and greatest recipes, and follow me on Facebook, Pinterest, Instagram, and YouTube!
